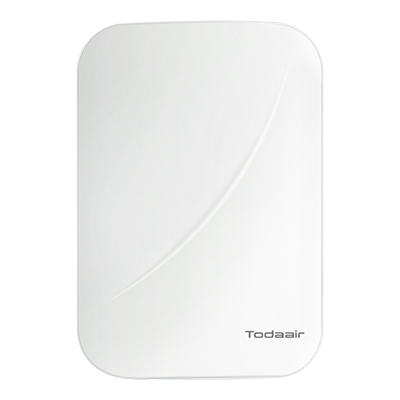


PRODUCT OVERVIEW
1. Long Range Wireless Transmission up to 3km
2. Plug-and-Play DIP Switch Configuration
3. Reliable 5.8GHz Wireless Performance
4. Outdoor IP65 Weather Protection
5. Flexible PoE Network Deployment
DIP9526K-H is a professional 5.8GHz long range wireless bridge designed for outdoor CCTV transmission, industrial monitoring and network extension projects.
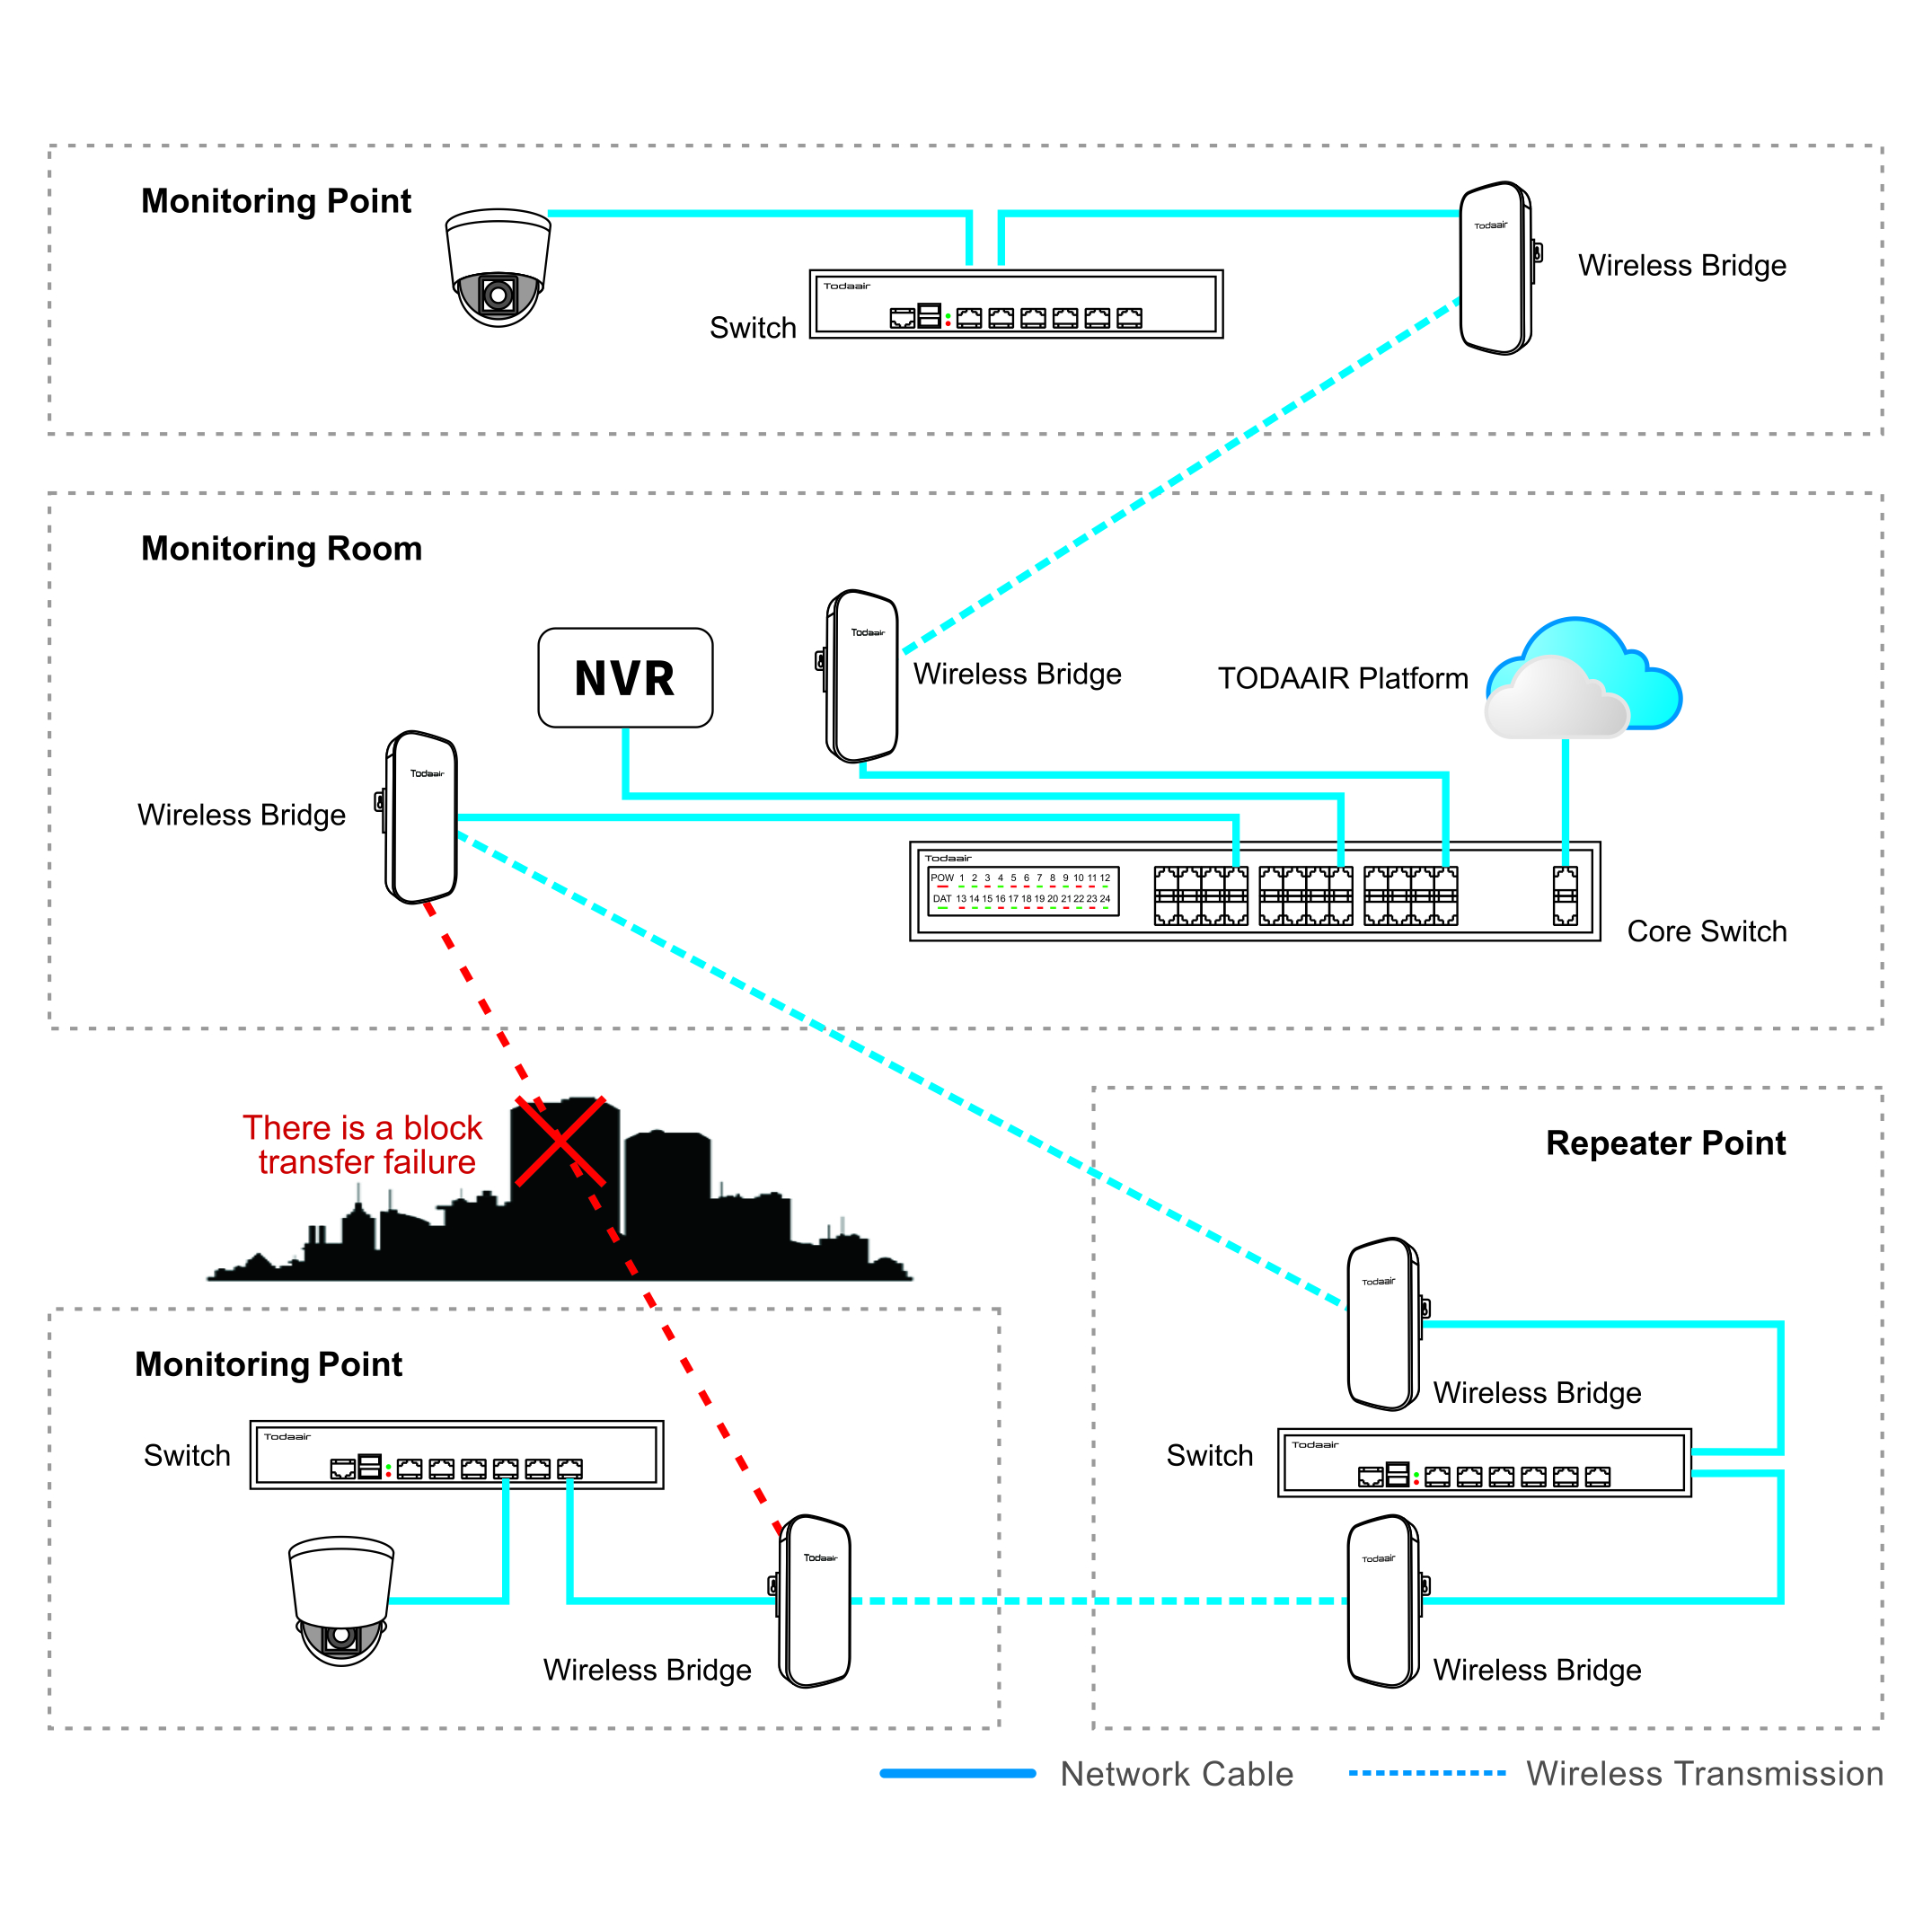
With plug-and-play DIP switch pairing, the device enables fast point-to-point (PTP) and point-to-multipoint (PTMP) deployment without complicated configuration, helping installers complete projects more efficiently.
Supporting wireless transmission up to 3km, high-gain antennas and strong transmission performance provide stable connectivity for HD video surveillance systems in factories, warehouses, construction sites and other outdoor environments.
The IP65-rated weather-resistant housing ensures reliable operation against rain, dust and UV exposure, making it suitable for long-term outdoor deployment.
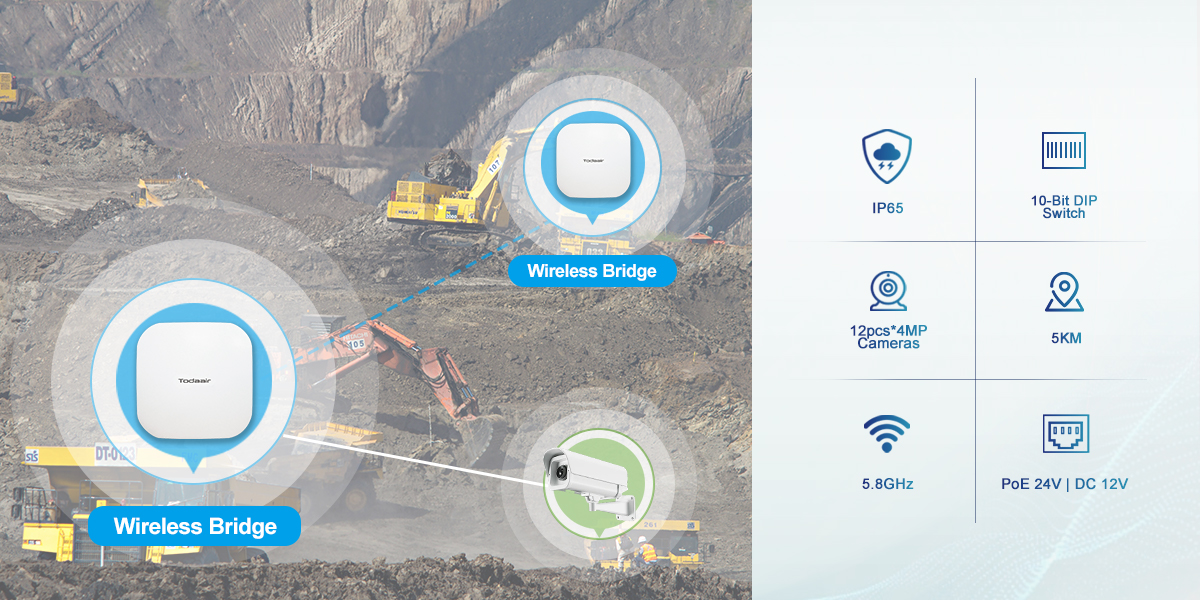
l 3km Long Range Wireless CCTV Transmission
Designed for professional surveillance projects, DIP9526K-H delivers reliable wireless transmission up to 3km.
With 16dBi high-gain antennas and 25dBm transmission power, it provides strong signal coverage and stable connectivity for HD video streaming applications.
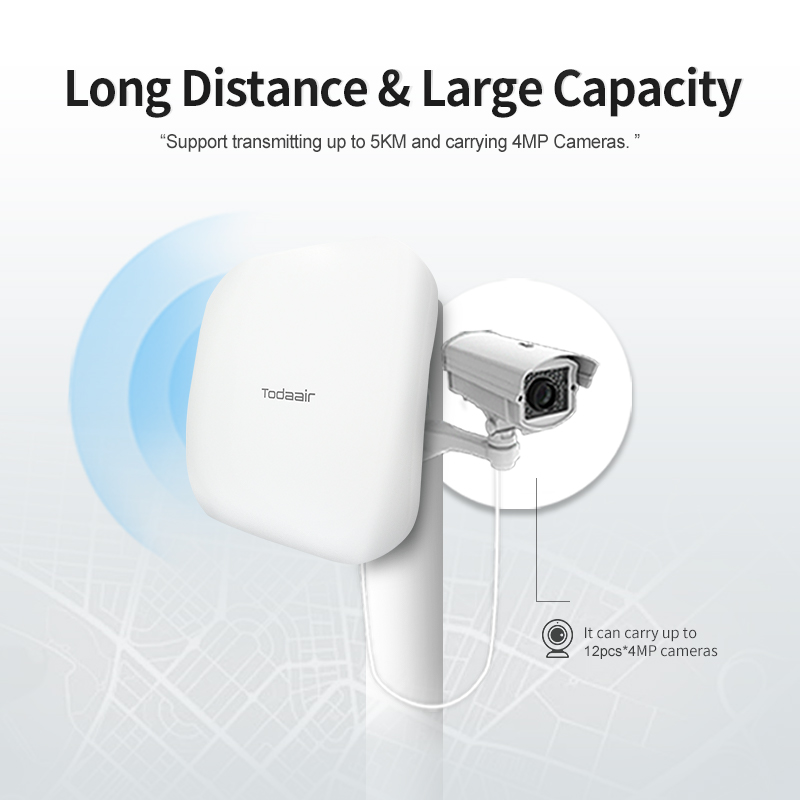
l Stable 5.8GHz Wireless Connectivity
Working on the 5.8GHz frequency band, the system provides wider bandwidth, cleaner channels and reduced interference compared with crowded wireless environments.
It ensures stable wireless communication for security monitoring and industrial network applications.

l Built for Harsh Outdoor Environments
Featuring an IP65-rated waterproof and dust-resistant enclosure with UV-resistant housing, DIP9526K-H is designed for long-term outdoor deployment.
The device supports operation from -30°C to 65°C, maintaining stable performance in extreme weather conditions including heavy rain, snow and high temperatures.

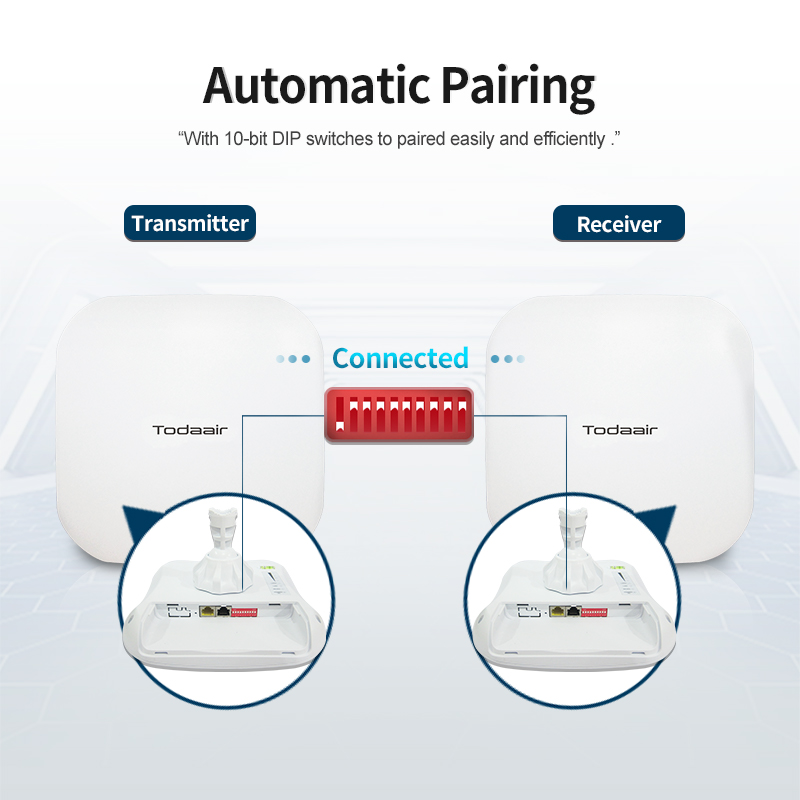
l Faster Deployment with DIP Pairing Technology
The 10-digit DIP switch provides 128 configurable pairing groups for quick PTP/PTMP deployment.
Installers can complete wireless pairing without PC configuration, significantly simplifying installation and maintenance.
l Flexible Power and Network Interfaces
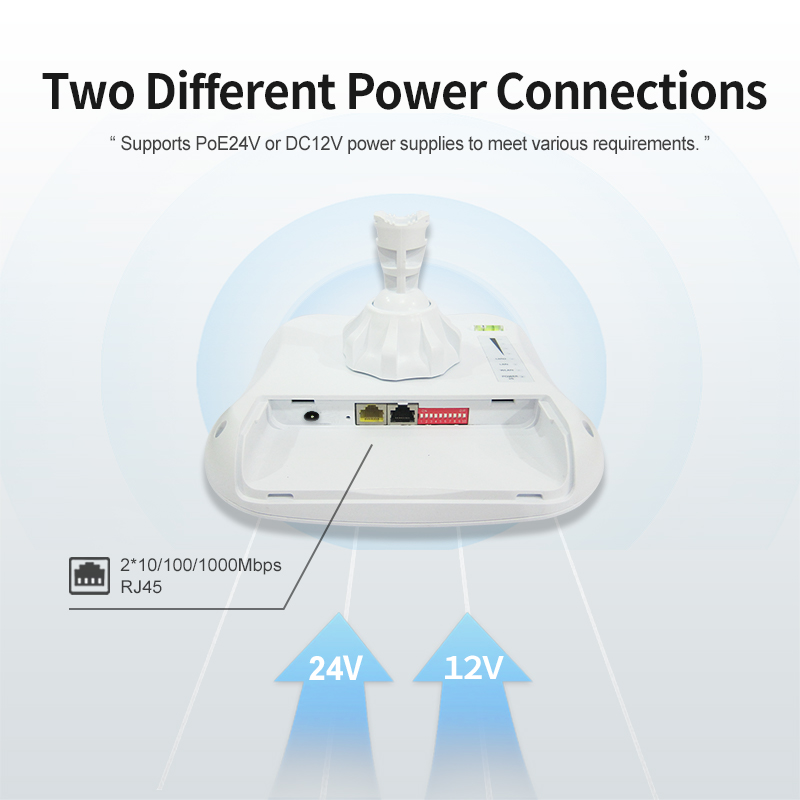
The device features 2 × Gigabit Ethernet ports and supports PoE 48V or DC 12V power input.
By combining power and network transmission through Ethernet cable, it helps installers reduce wiring complexity and project costs.
l The system is compatible with Todaair APP for centralized remote management. The application delivers real-time network topology visualization, comprehensive device status monitoring, and detailed operational analytics. Its one-click network optimization feature enables prompt response to maintenance requirements.

Looking for an Easy-to-Install Wireless Bridge Solution?
Todaair provides reliable wireless bridge products for CCTV installers, system integrators and security projects.
Contact our sales team:[email protected]
| Pole-Mount | |
 |
 |
|
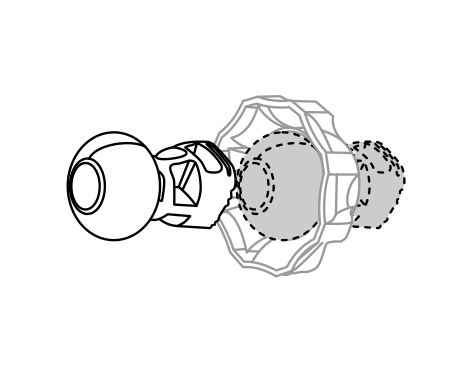
1 Align the universal joint bracket with the lock ring, ensuring the lock ring threads face the ball joint. Insert and rotate clockwise to engage. |
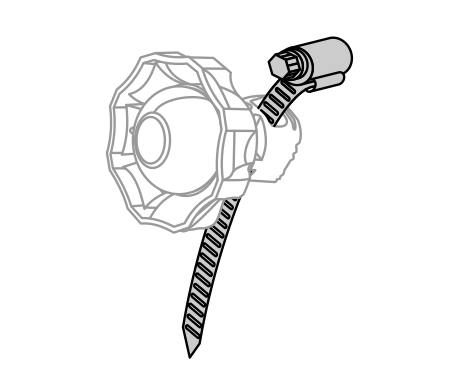
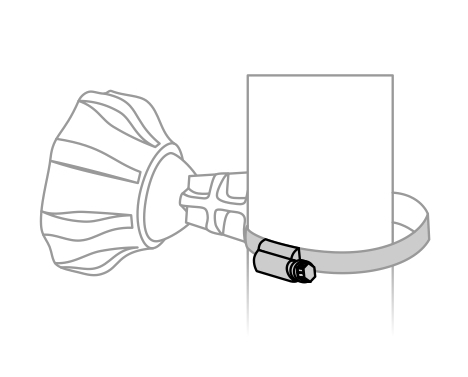
2 Open the metal strap, thread it through the bracket base, and secure with the provided fastener. |
 |
 |
|
3 Wrap the metal strap around the pole. Use a screwdriver to tighten the screw clockwise until the strap is firmly secured. |
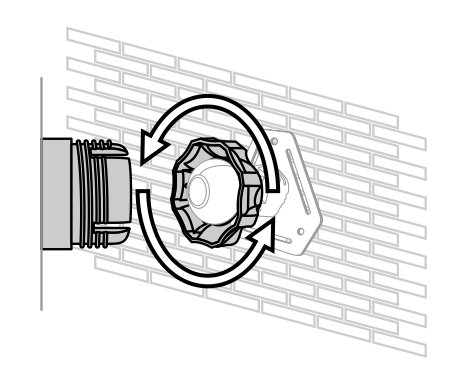
4 Attach the device to the universal joint bracket. Hand-tighten the lock ring to secure while maintaining slight looseness for pivot adjustment. |
| Wall-Mount | |
|
 |
|
1 Align the universal joint bracket with the lock ring, ensuring the lock ring threads face the ball joint. Insert and rotate clockwise to engage. |
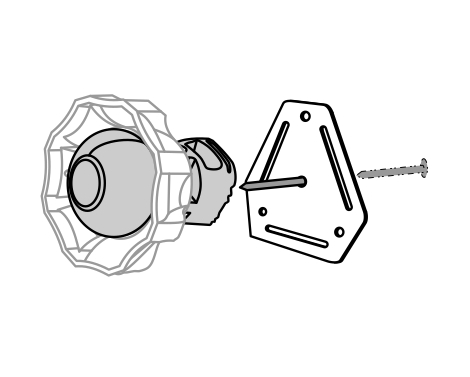
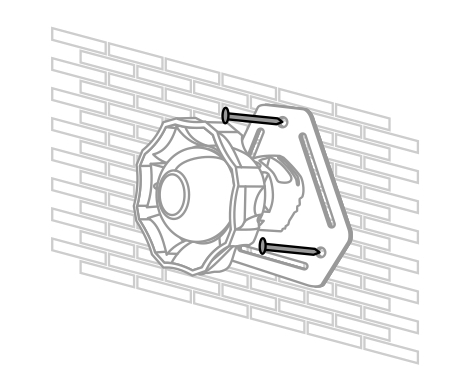
2 Mount the wall plate to the surface using provided screws. Then fasten the universal joint bracket to the wall plate with additional screws. |
 |
|
|
3 Securely fasten the wall mount plate to a load-bearing wall using appropriate anchors. |
4 Attach the device to the universal joint bracket. Hand-tighten the lock ring to secure while maintaining slight looseness for pivot adjustment. |