
PRODUCT OVERVIEW
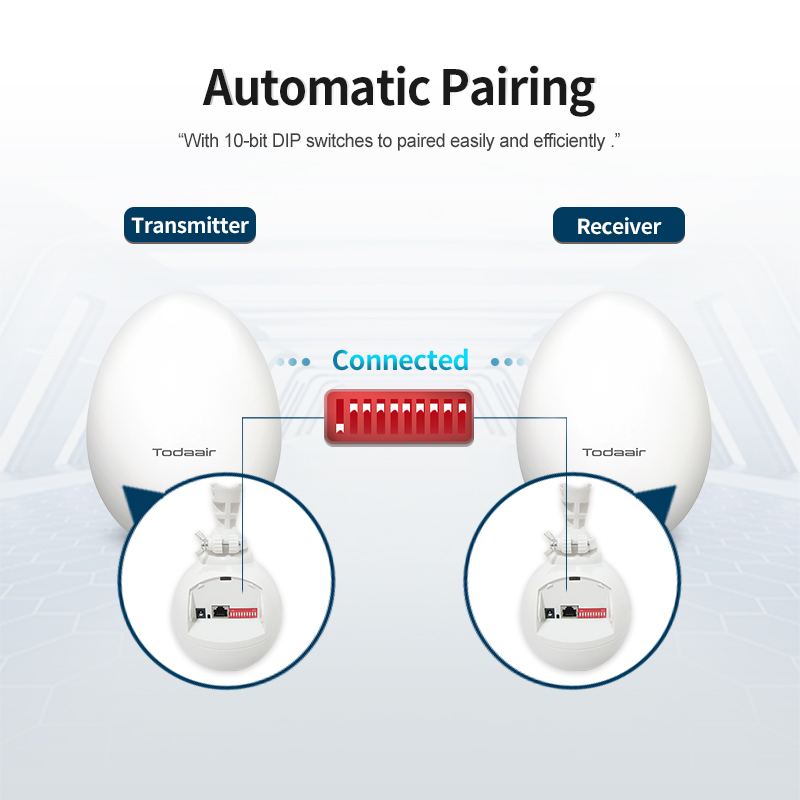
- With 10-bit DIP switches to paired easily and efficiently
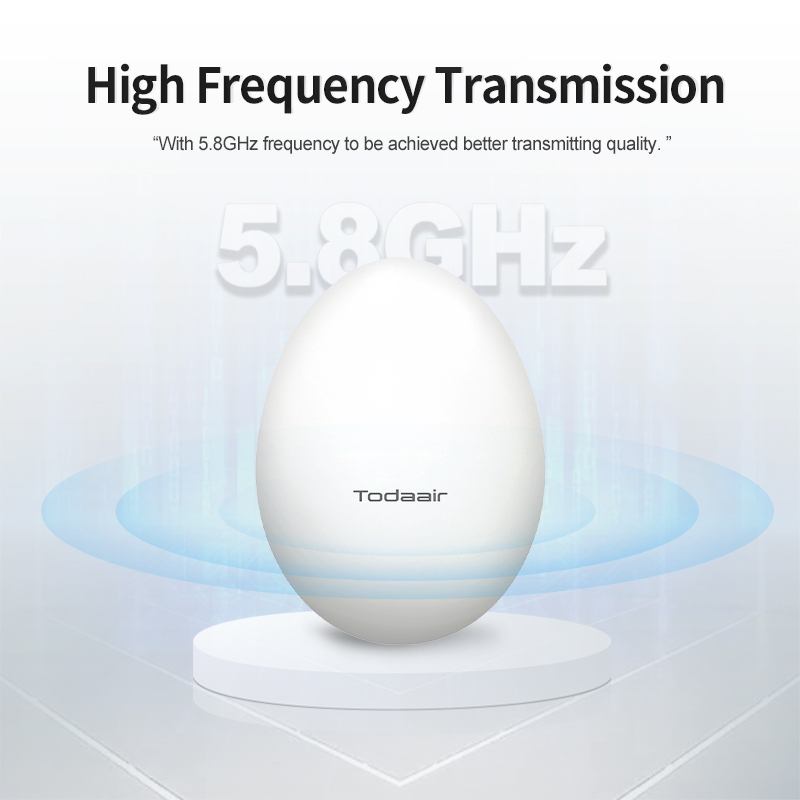
- With 5.8GHz frequency to be achieved better transmitting quality
- Support transmitting up to 1km and carrying 4MP cameras
- With IP65 UV-resistant housing
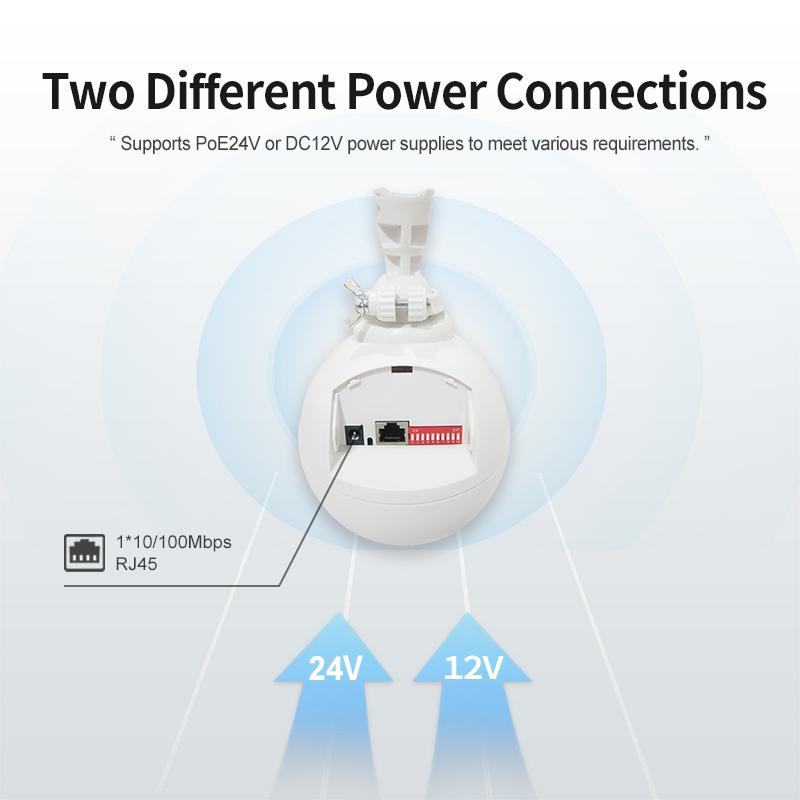
- Supports PoE 24V or DC 12V power supplies to meet various requirements
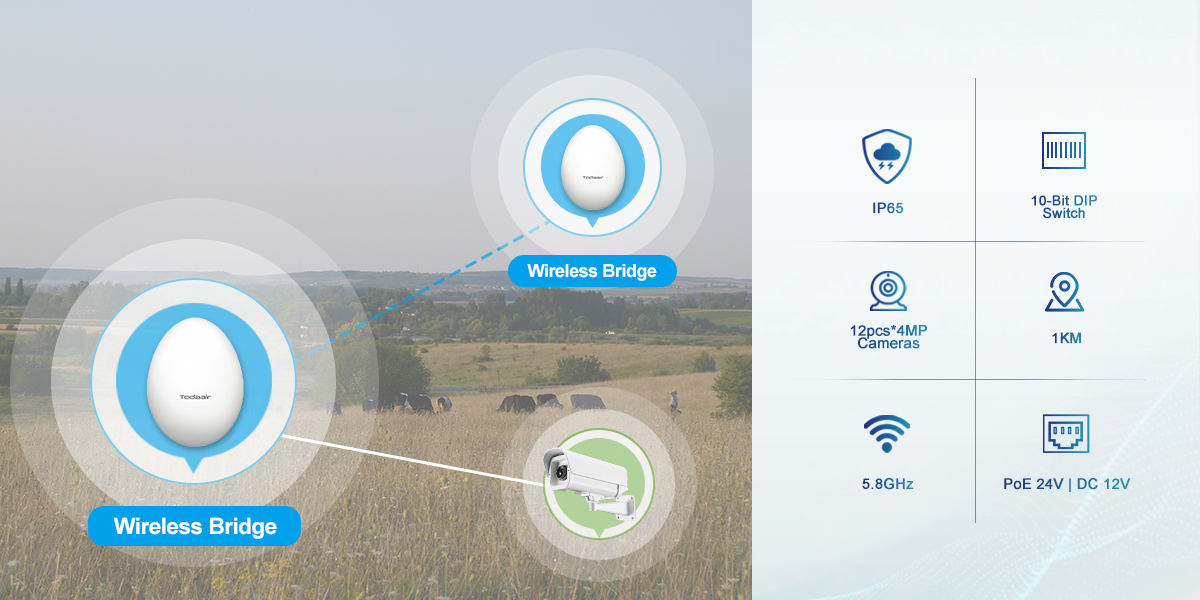
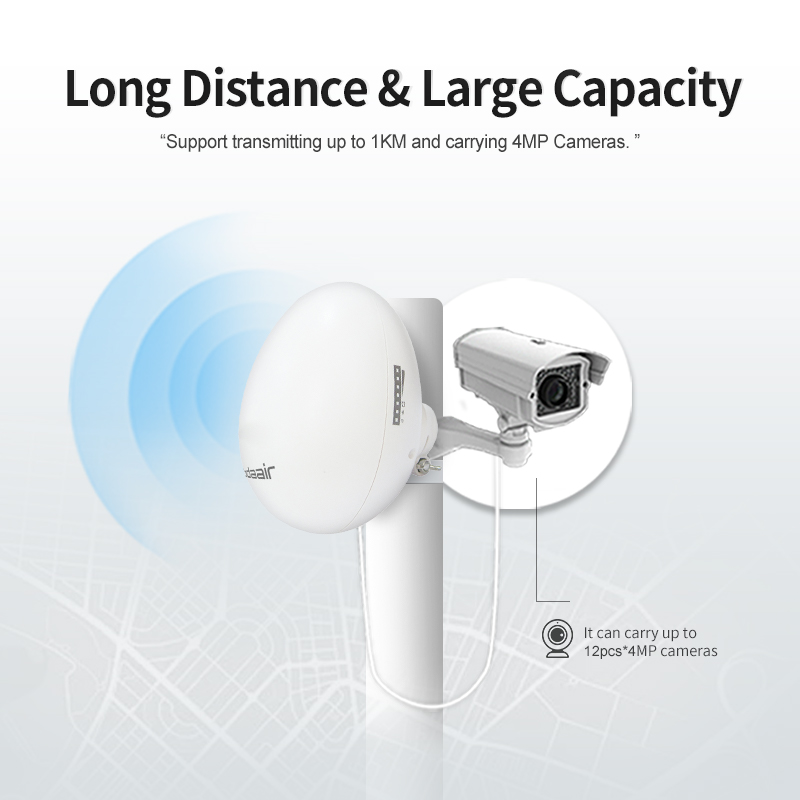
l Dedicated for 1km surveillance transmission, delivering wireless speeds up to 900Mbps, the system is equipped with 14dBi high-gain antennas and 23dBm transmission power. It ensures superior transmission capability and reception sensitivity for high-capacity HD video streaming, supporting connectivity for 12pcs*4MP HD cameras.
l This wireless system operates on the 5.8GHz high-frequency band, delivering wider bandwidth, cleaner channels, and reduced interference to ensure reliable transmission quality for mission-critical applications.
l The device features an IP65-reted waterproof and dustproof enclosure with UV-resistant housing. Designed to operated in temperatures ranging from -30°C to 65°C, it withstands various extreme weather conditions such as heavy rain, snowstorms, extreme heat, and even lightning strikes, thus ensuring reliable performance in harsh environments.

l The 10-digit DIP switch enables plug-and-play deployment, providing 128 configurable groups for seamless PTP/PTMP pairing. This eliminates PC-dependent configuration, reducing installation time by up to 90%.
l The device includes one 10/100Mbps RJ45 port for high-speed data throughput, supporting PoE 24V or DC 12V power input. Its integrated PoE capability reduces cabling costs by transmitting power and data over a single Ethernet cable, which enables flexible deployment in various scenarios.
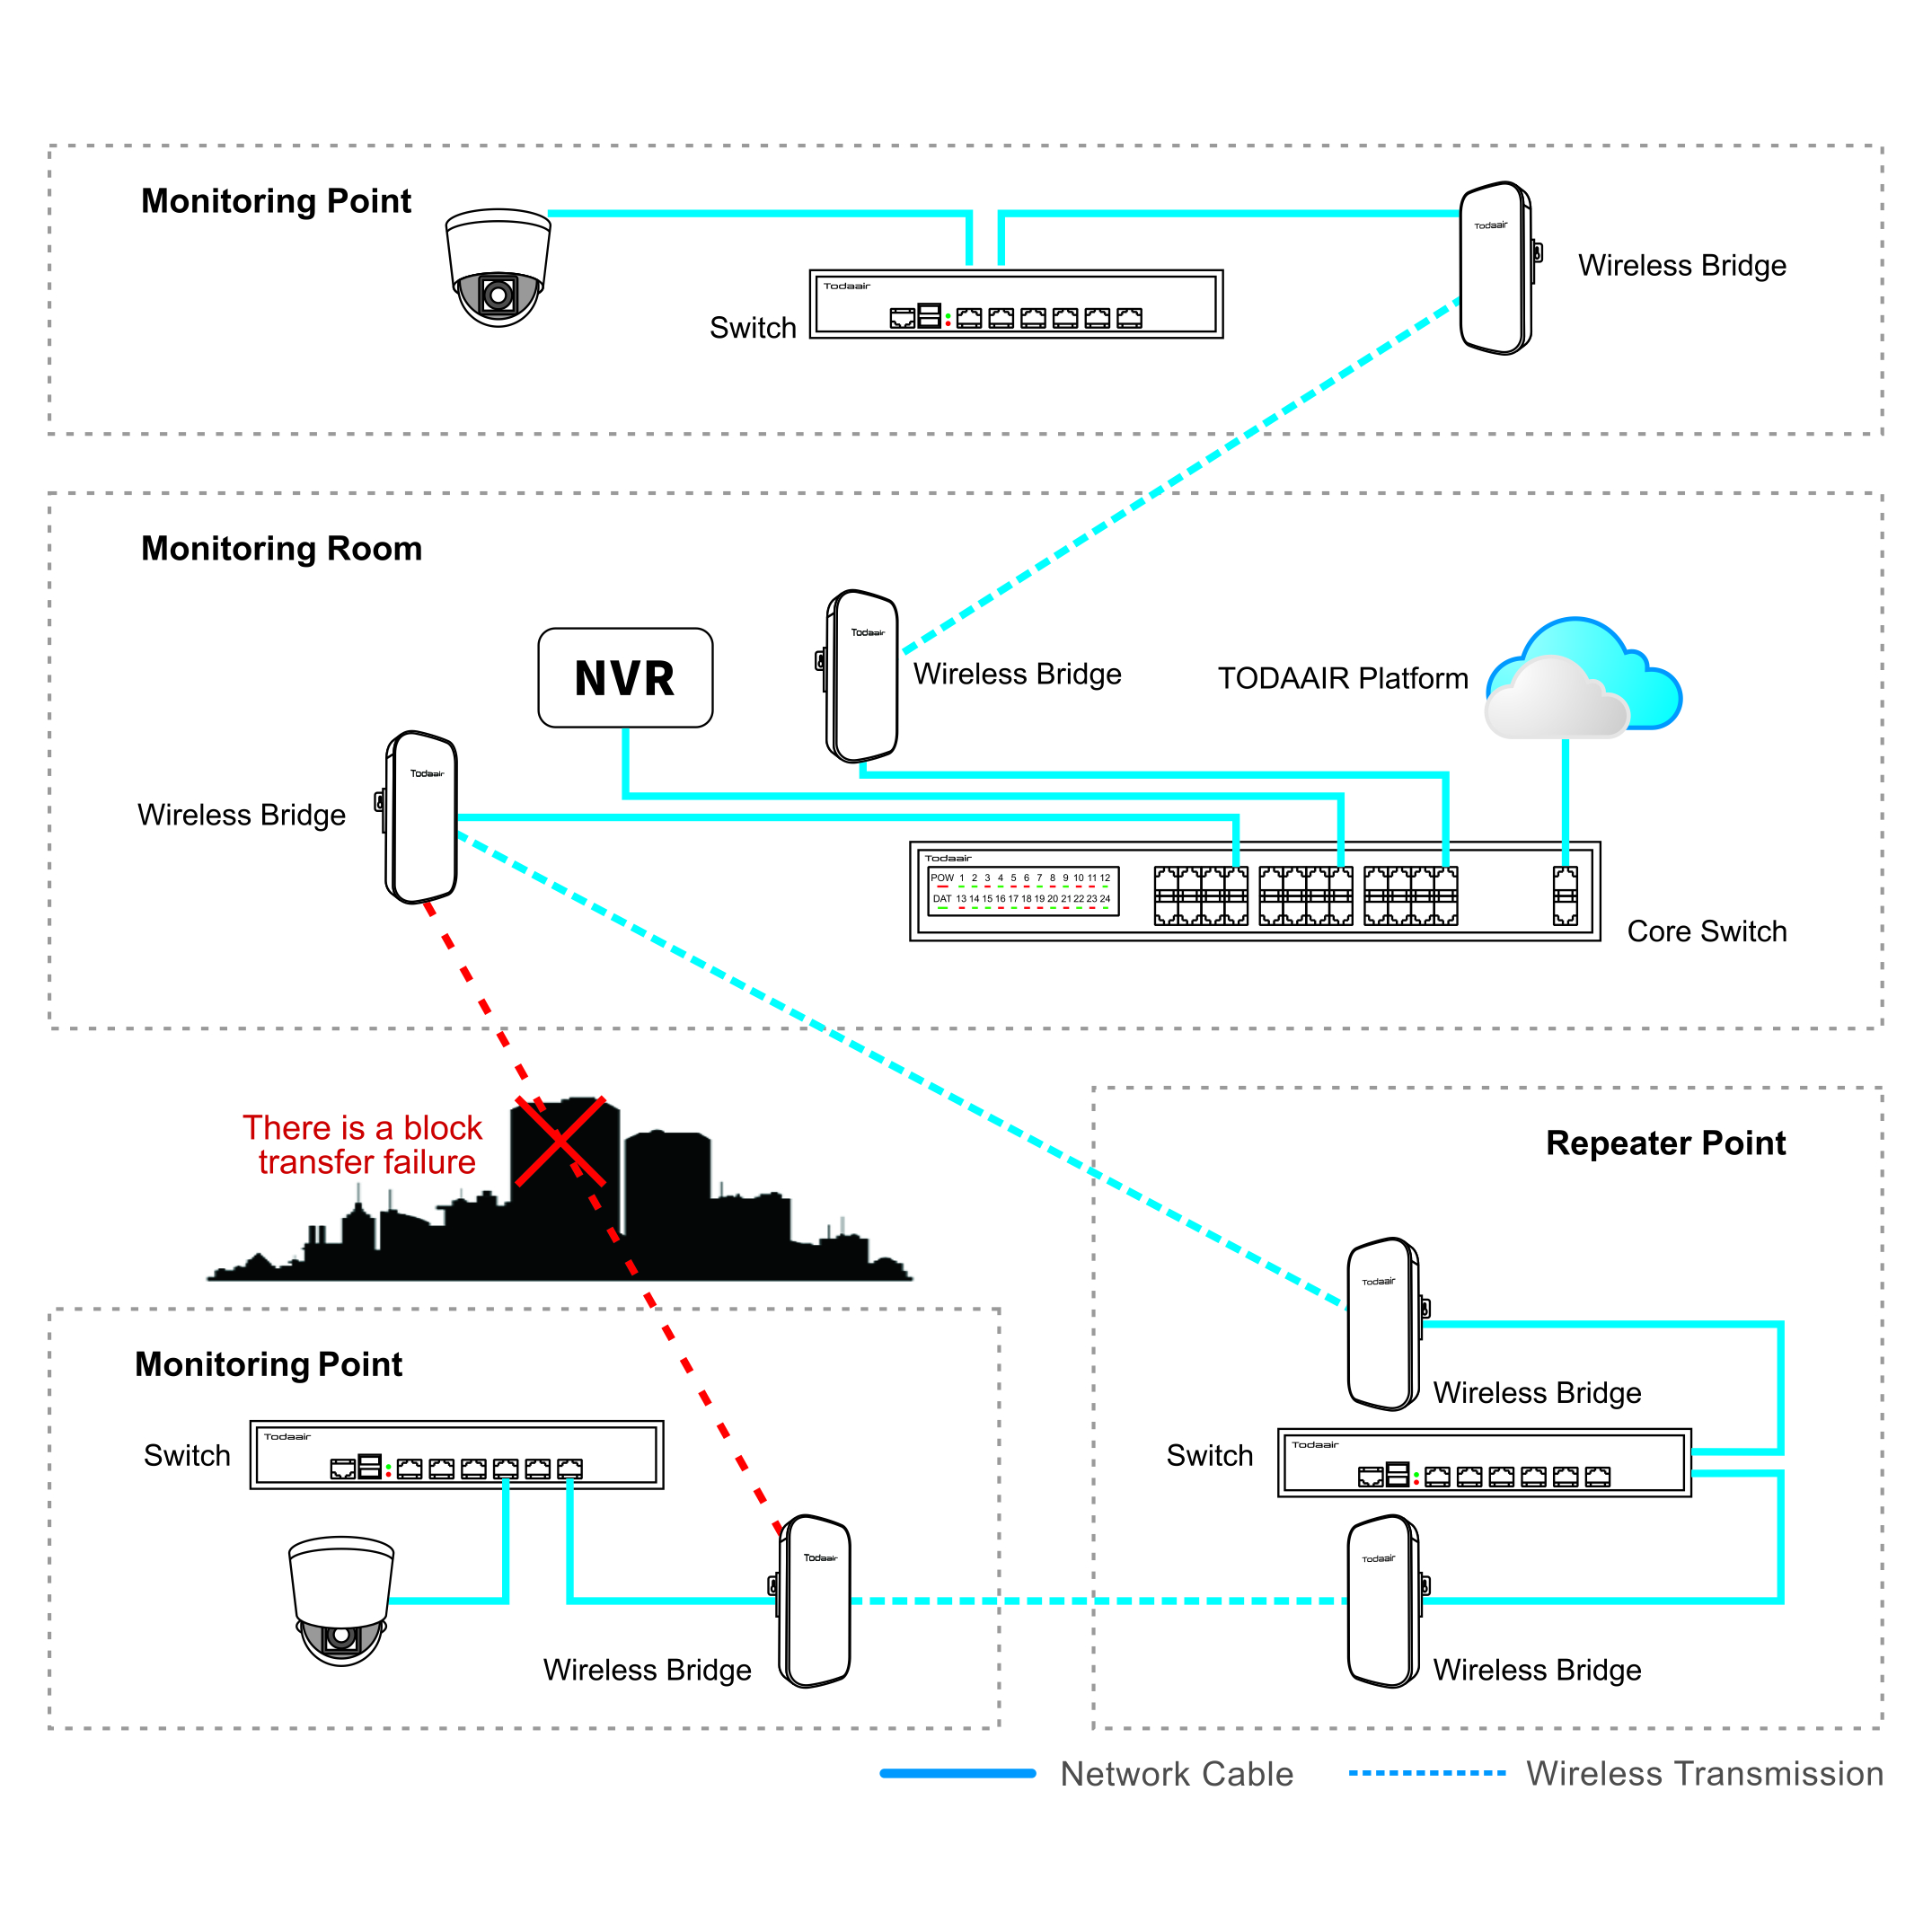
l The system is compatible with Todaair APP for centralized remote management. The application delivers real-time network topology visualization, comprehensive device status monitoring, and detailed operational analytics. Its one-click network optimization feature enables prompt response to maintenance requirements.

| Pole-Mount | |
 |
 |
|
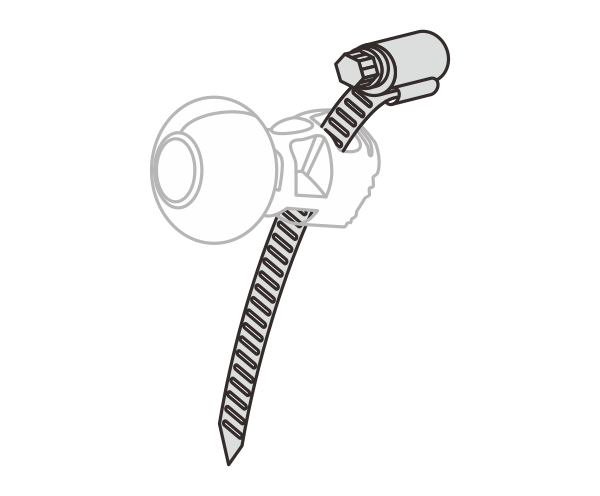
1 Route the strap through the lower slot of the universal joint bracket, then secure it by bucking. |
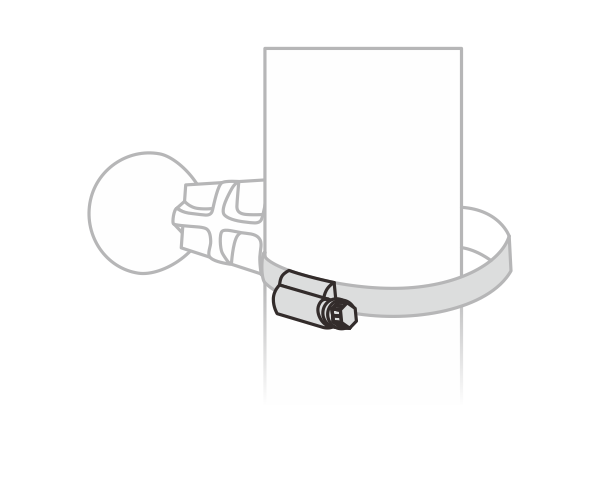
2 Wrap the strap around the pole, then use a screwdriver to tighten the mounting screw. |
 |
 |
|
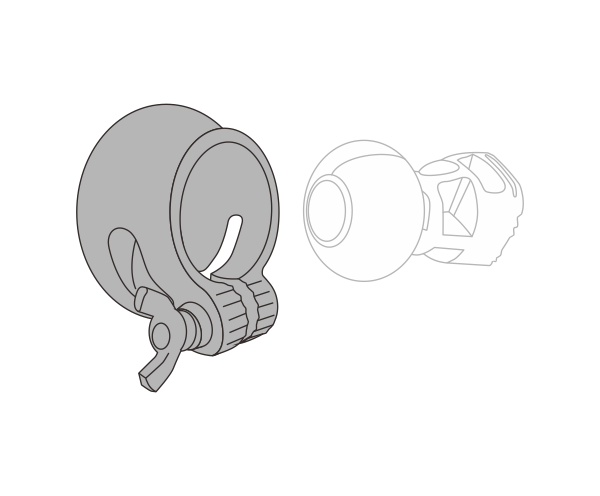
3 Align the device’s mounting interface with the universal joint bracket. Insert the bracket assembly into the lock ring, ensuring the device back contacts the ring surface. |
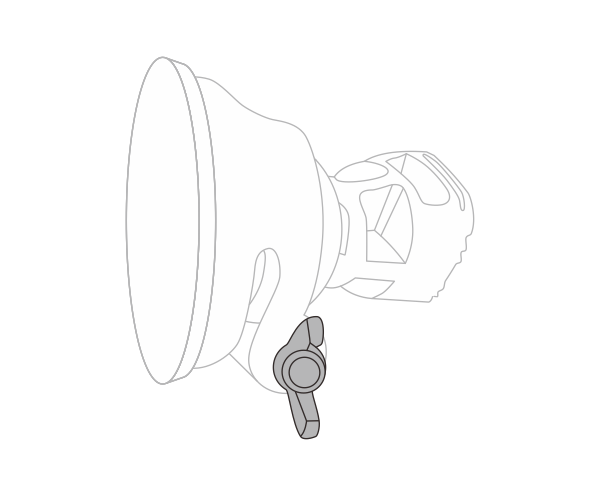
4 Securely tighten the fixing screw, while maintaining 0.5-1mm axial play in the lock ring for pivot adjustment. |
| Wall-Mount | |
 |
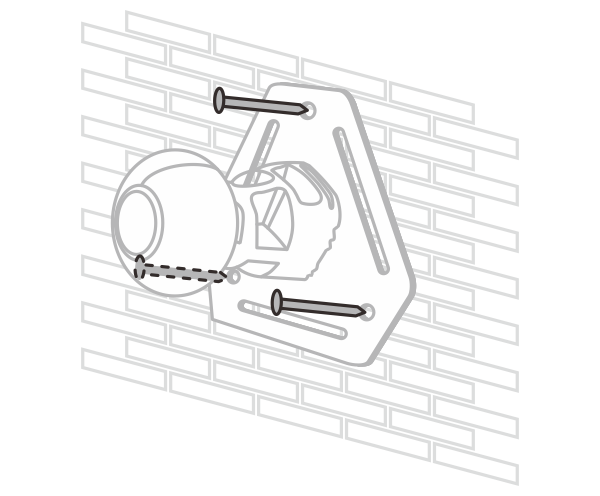 |
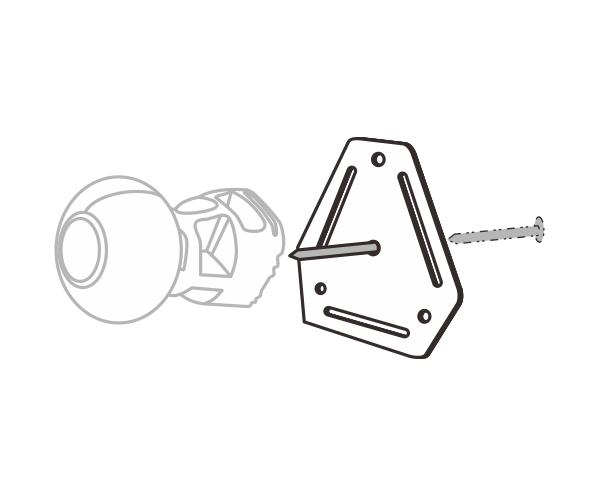
| 1 Secure the wall mount plate using the anchor bolts. Attach the universal joint bracket to the plate with the screws. |
2 Securely fasten the wall mount plate to a load-bearing wall using appropriate anchors. |
 |
 |
|
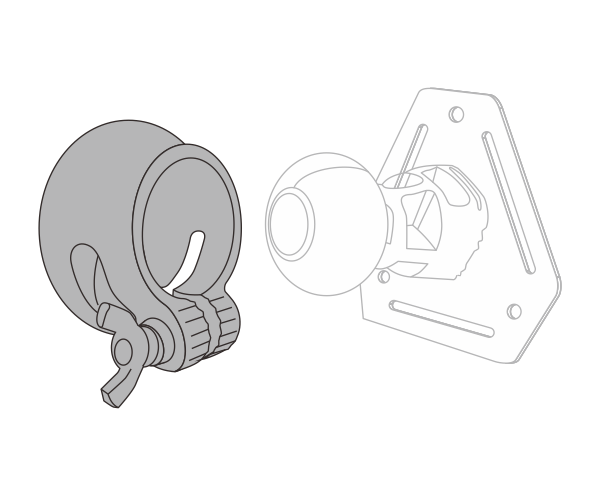
3 Attach the device to the universal joint bracket. Inset the bracket into the lock ring with the device’s back surface facing outward. |
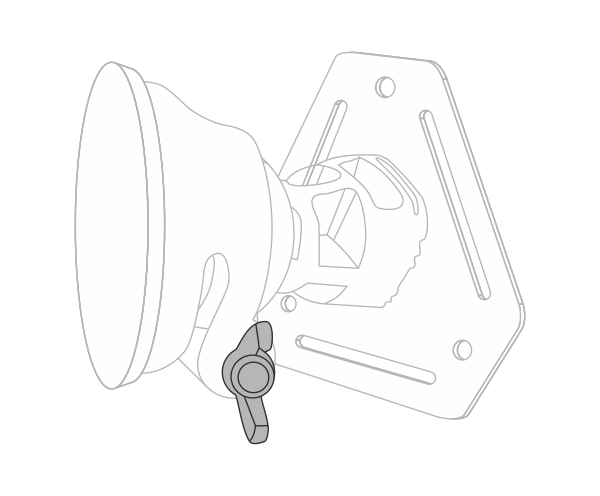
4 Securely fasten the positioning screw while maintaining 0.5-1mm axial clearance on the lock ring to enable device pivoting.
|