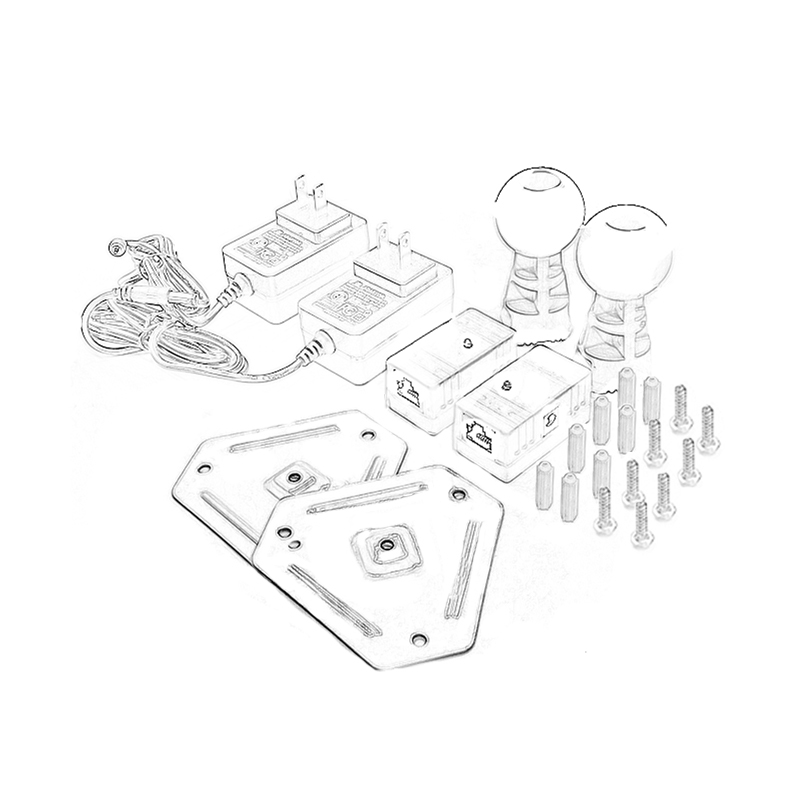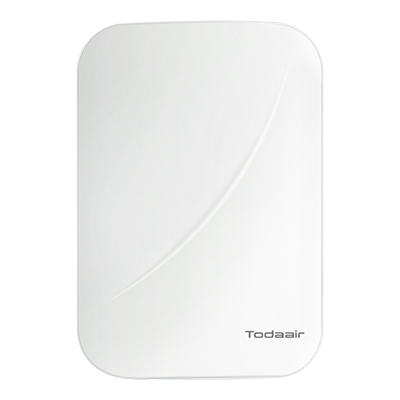


PRODUCT OVERVIEW
1. Long-Distance Wireless Transmission for Professional Surveillance
2. Dual Gigabit Ethernet Ports for High-Bandwidth Applications
3. Fast Pairing and Easy Installation for Project Deployment
4. Reliable 5.8GHz Wireless Performance with Reduced Interference
5. Rugged IP65 Outdoor Design with PoE Power Support
5.8GHz 1km Outdoor Wireless Bridge with Dual Gigabit Ethernet Ports for HD Surveillance
TD956G2Y-H is a high-performance 5.8GHz outdoor wireless bridge designed for professional video surveillance and industrial networking applications.
With factory pre-configured pairing, the device enables fast installation without complicated configuration. It provides wireless transmission speeds up to 867Mbps and supports stable long-distance communication up to 3km.
Equipped with dual Gigabit Ethernet ports, high-power transmission capability, and an IP65-rated outdoor enclosure, TD956G2Y-H provides a reliable wireless networking solution for multi-camera surveillance systems, factories, warehouses, and other demanding outdoor environments.
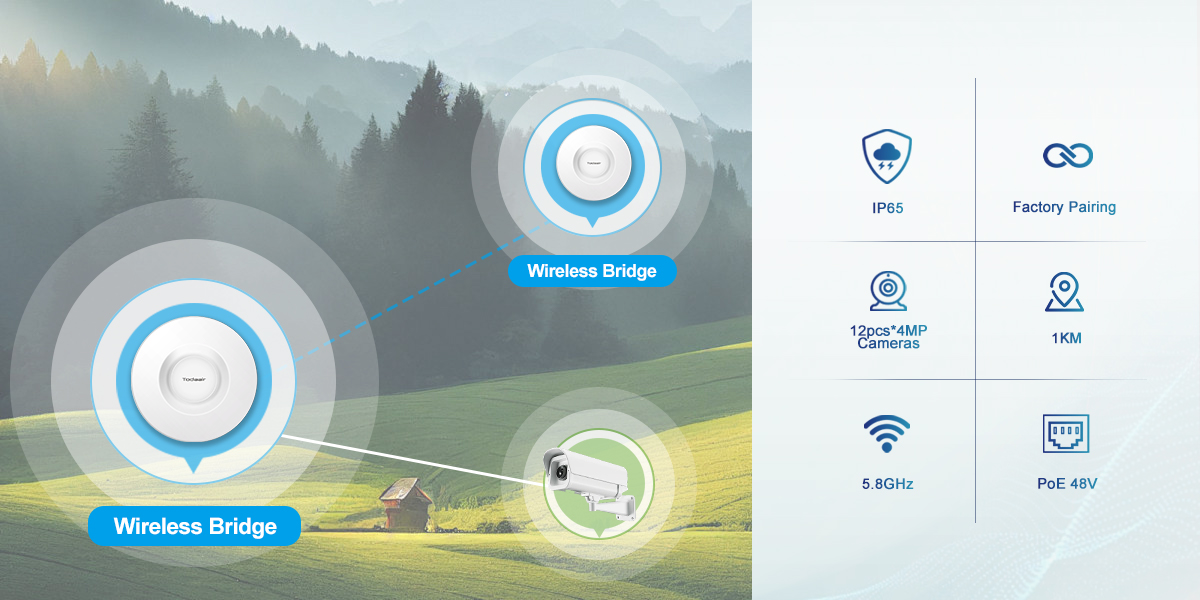
l Designed for 3km HD Video Surveillance Transmission
TD956G2Y-H is optimized for outdoor surveillance transmission, delivering wireless speeds up to 900Mbps.
The combination of 27dBm transmission power and 10dBi high-gain antennas provides excellent transmission capability and reception sensitivity.
It supports connection of approximately 6pcs 4MP HD cameras depending on network conditions, making it suitable for professional CCTV deployment.
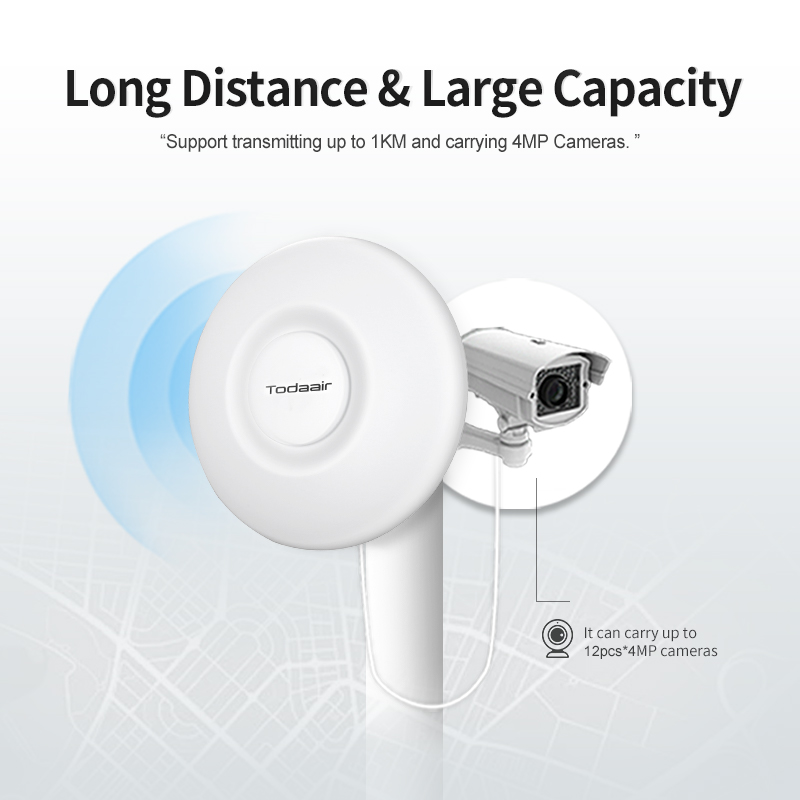
l High-Speed 5.8GHz Wireless Technology
The system operates on the 5.8GHz wireless band, providing:
Wider available bandwidth/Lower interference levels/More stable wireless connectivity/Better performance for HD video transmission

l The IP65-rated enclosure protects the device from dust, rain, and outdoor exposure.The UV-resistant housing and wide operating temperature range from -30°C to 65°C ensure reliable operation in challenging environments.

l TD956G2Y-H supports automatic 1-to-1 pairing after startup.
This simplified installation process helps installers complete projects faster without requiring advanced networking knowledge.
For point-to-point and point-to-multipoint deployments, configuration can also be completed through the WEB management interface.

l Dual Gigabit Ports & PoE Deployment
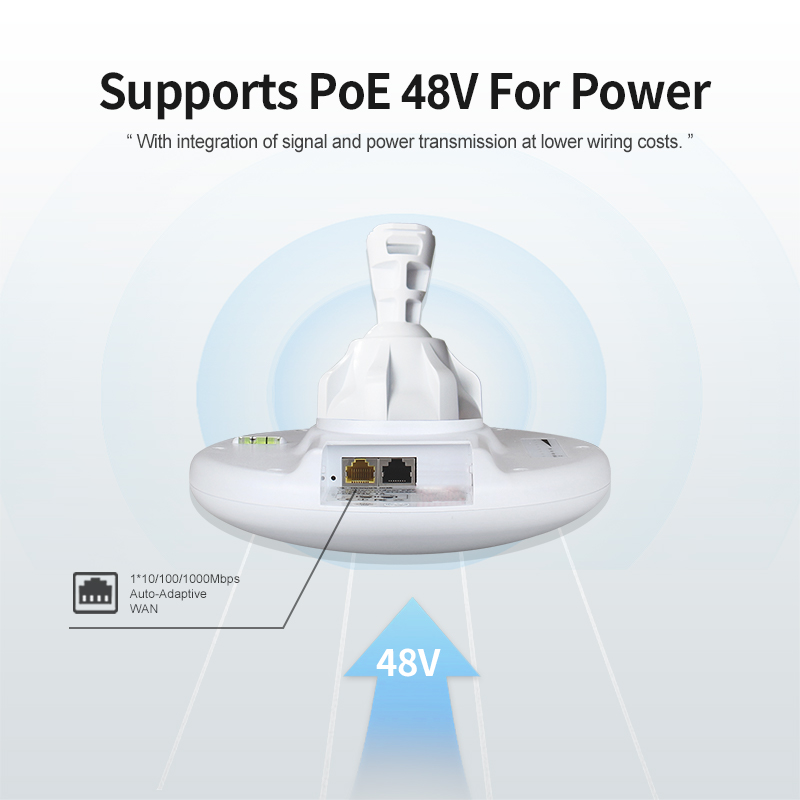
Featuring 2 × 10/100/1000Mbps RJ45 Ethernet ports, TD956G2Y-H provides sufficient bandwidth for high-data-rate applications.
The integrated 48V PoE design allows a single Ethernet cable to carry both power and network data, reducing installation complexity.
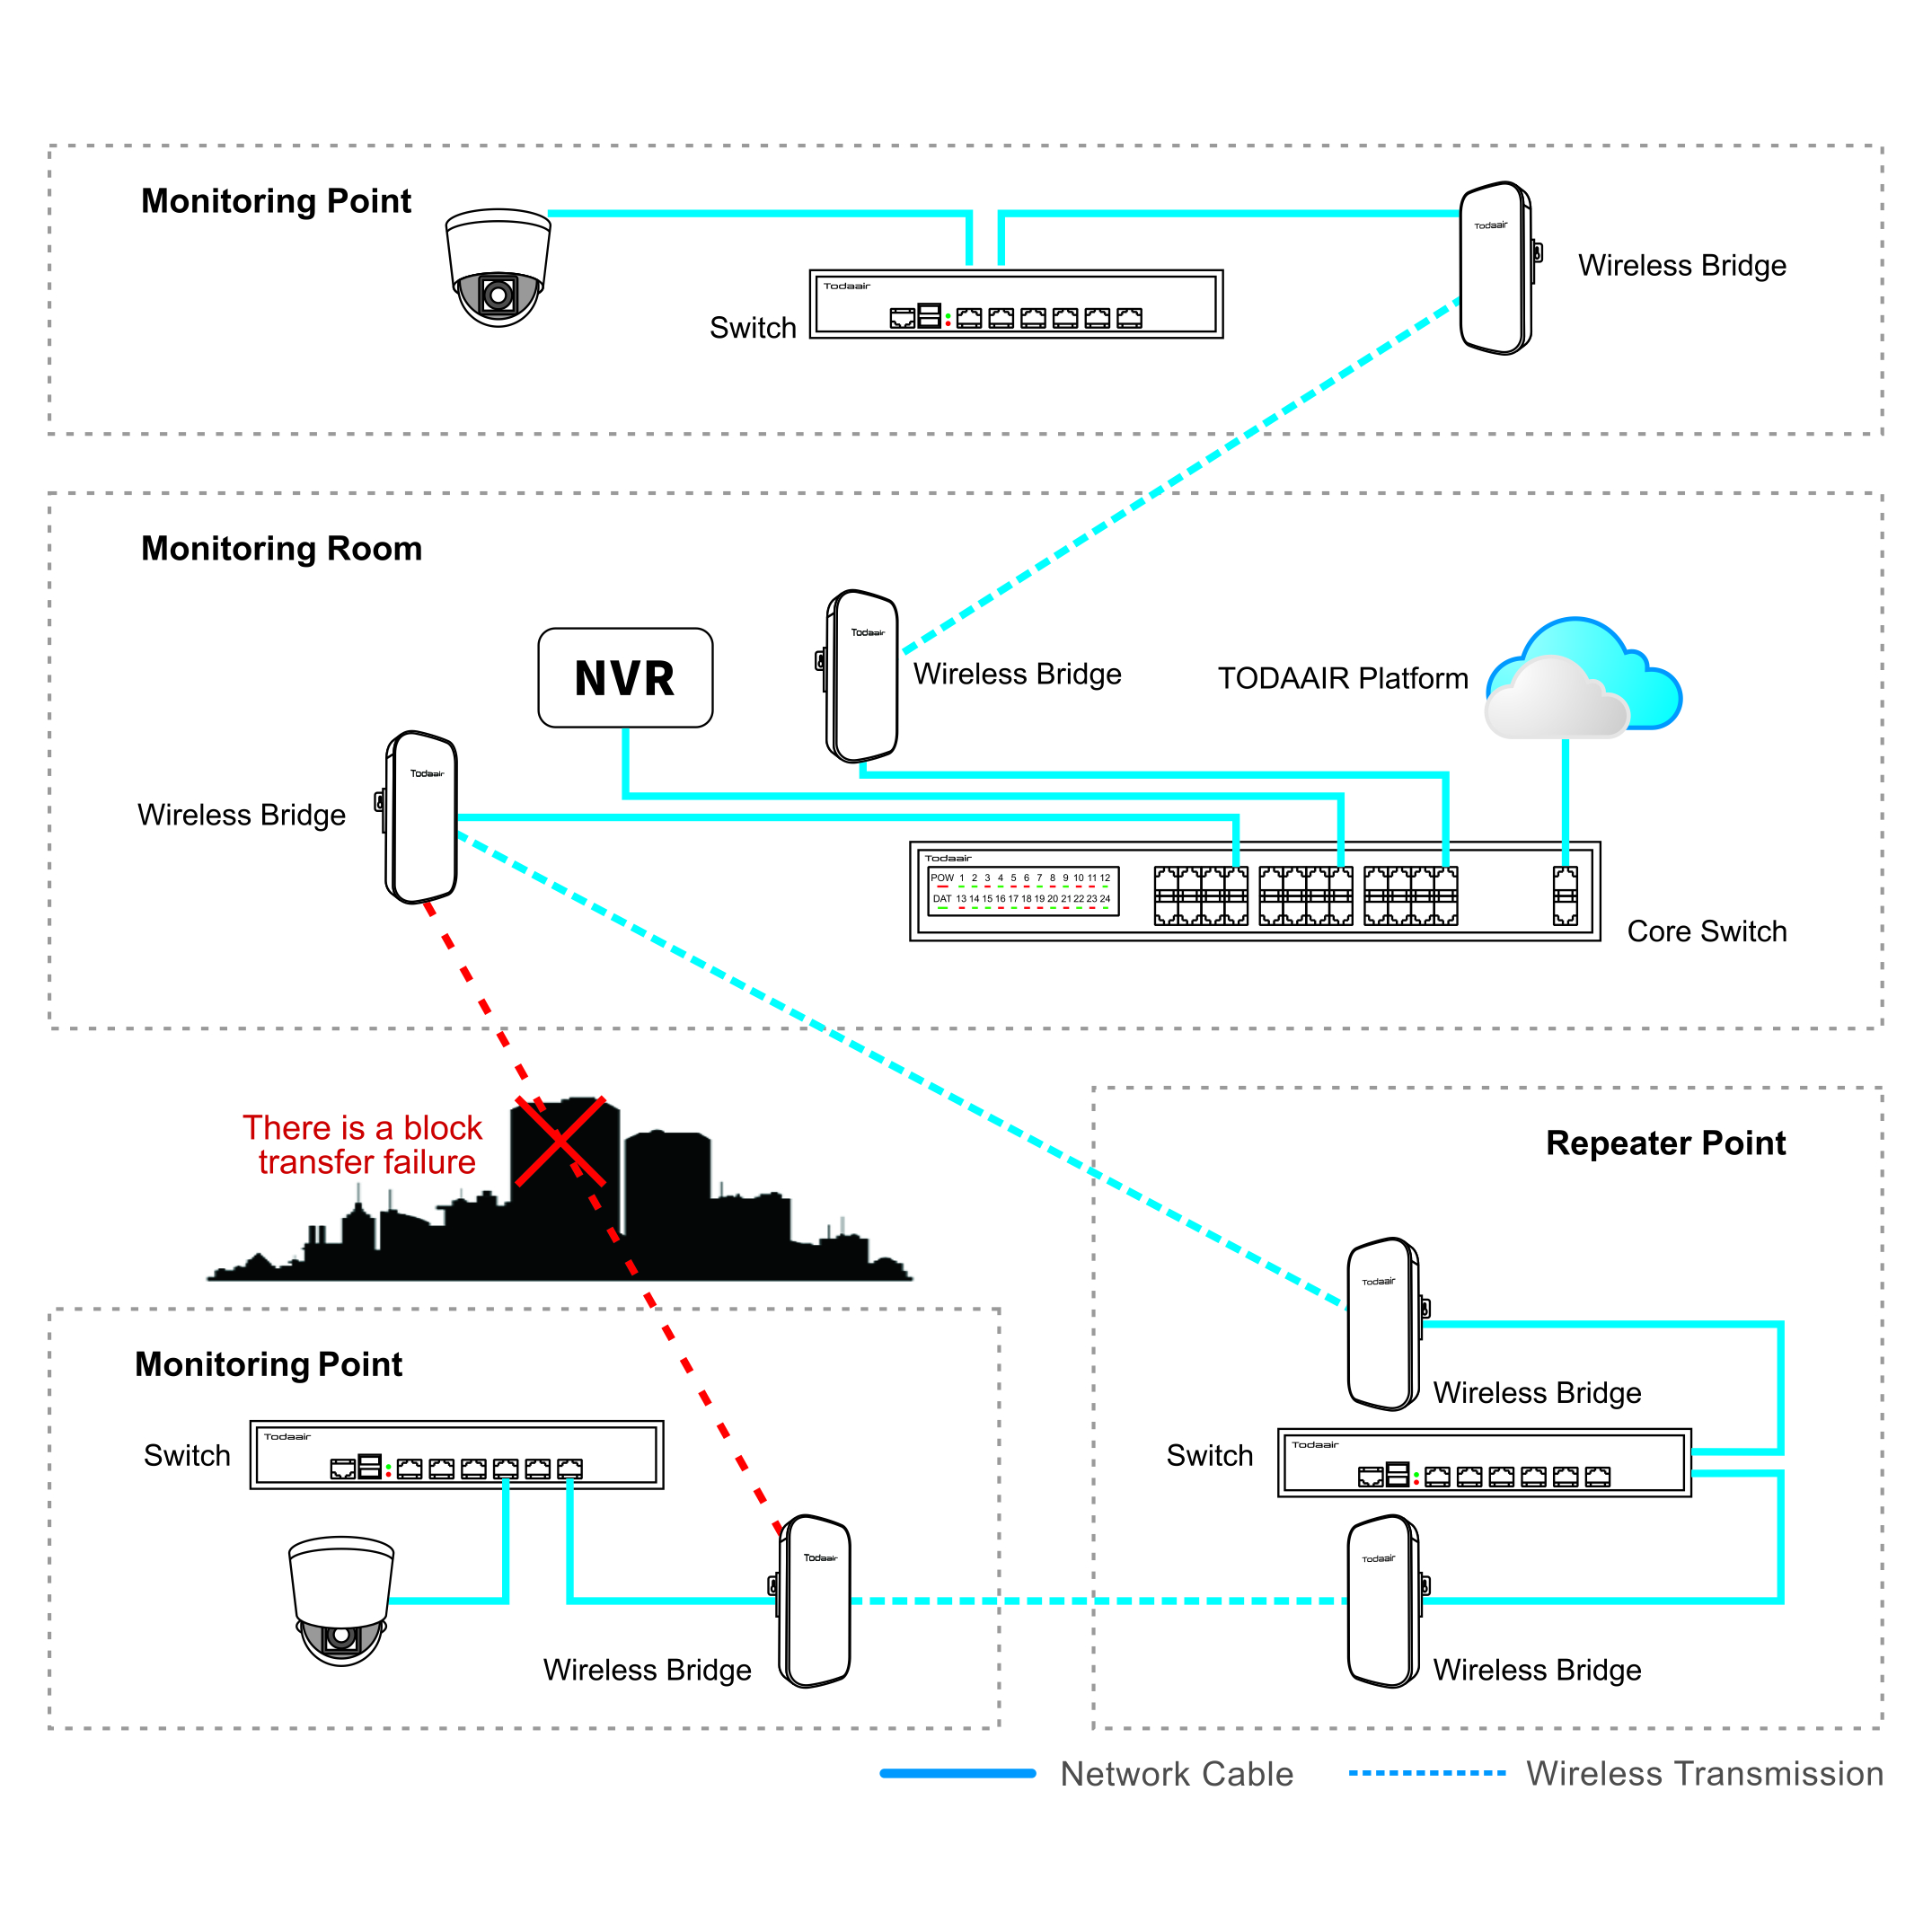
lTD956G2Y-H supports Todaair APP and WEB management platform for centralized device monitoring.
System integrators and installers can easily access:
Network topology visualization/Device status monitoring/Remote configuration/Operation analysis/Network optimization
This improves maintenance efficiency and reduces onsite troubleshooting costs.

Need a reliable Gigabit outdoor wireless bridge for your surveillance or networking projects?
Contact Todaair for product specifications, project solutions, OEM cooperation, and pricing support.
Email: [email protected]
| Pole-Mount | |
 |
 |
|
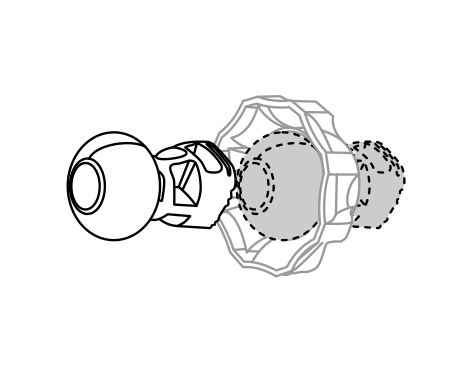
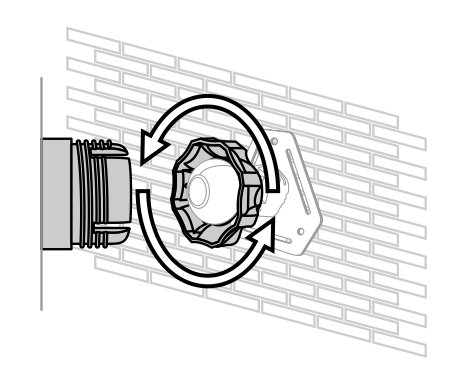
1 Align the universal joint bracket with the lock ring, ensuring the lock ring threads face the ball joint. Insert and rotate clockwise to engage. |
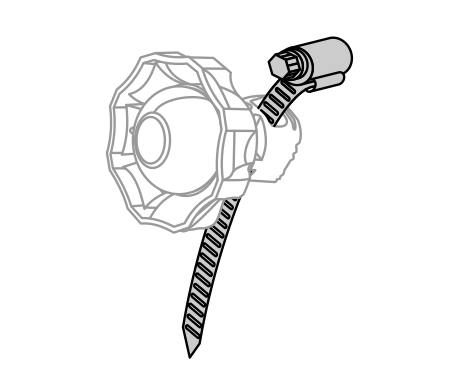
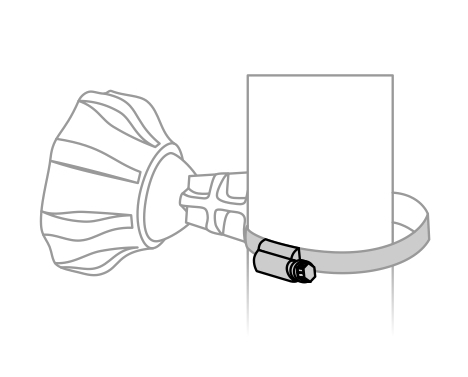
2 Open the metal strap, thread it through the bracket base, and secure with the provided fastener. |
 |
 |
|
3 Wrap the metal strap around the pole. Use a screwdriver to tighten the screw clockwise until the strap is firmly secured. |
4 Attach the device to the universal joint bracket. Hand-tighten the lock ring to secure while maintaining slight looseness for pivot adjustment. |
| Wall-Mount | |
|
 |
|
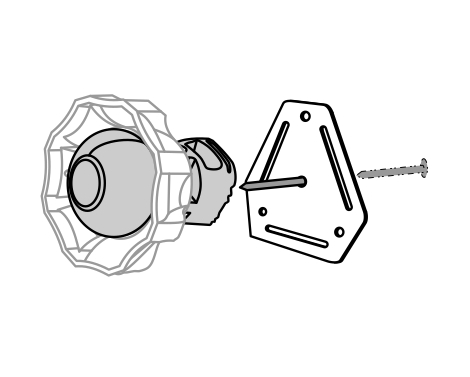
1 Align the universal joint bracket with the lock ring, ensuring the lock ring threads face the ball joint. Insert and rotate clockwise to engage. |
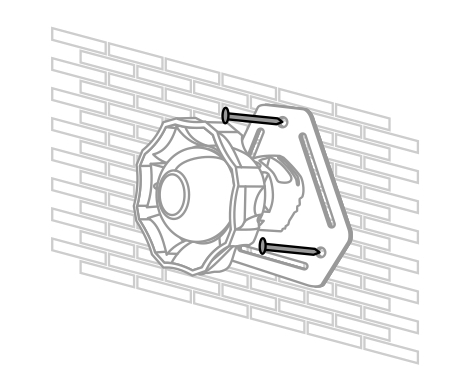
2 Mount the wall plate to the surface using provided screws. Then fasten the universal joint bracket to the wall plate with additional screws. |
 |
|
|
3 Securely fasten the wall mount plate to a load-bearing wall using appropriate anchors. |
4 Attach the device to the universal joint bracket. Hand-tighten the lock ring to secure while maintaining slight looseness for pivot adjustment. |