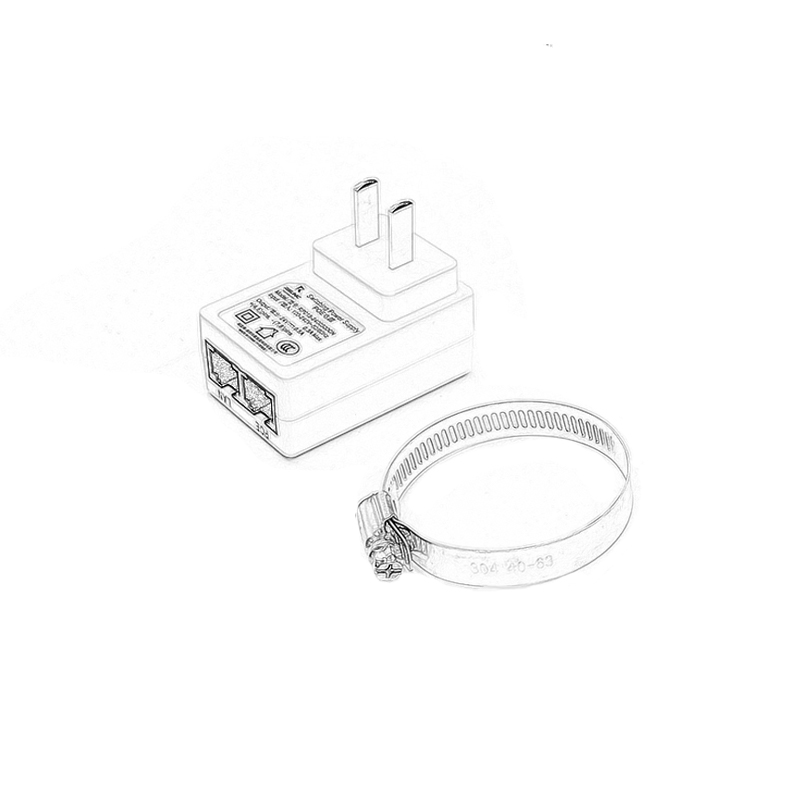


PRODUCT OVERVIEW
1. Easy DIP Switch Pairing for Efficient Deployment
- Faster project installation
- Simplified field configuration
- Reduced deployment time for installers
2. Reliable 5.8GHz Wireless Transmission for CCTV Applications
- Smooth video streaming
- Reduced wireless interference
- Reliable long-term operation
3. Long-Range Connectivity with Strong RF Performance
- Extended deployment distance
- Better signal reliability
- Suitable for large-area monitoring projects
4. Durable IP65 Outdoor Housing for Harsh Environments
- Improved product durability
- Lower maintenance requirements
- Suitable for outdoor security installations
5. Flexible PoE Power and Remote Management Options
- Simplified installation
- Flexible deployment options
- Convenient project maintenance
DIP1520 5.8GHz Wireless Bridge for Professional Surveillance Deployment
The DIP1520 is a professional 5.8GHz outdoor wireless bridge designed for reliable IP camera transmission in surveillance and networking projects.
With simple DIP switch pairing, stable wireless performance, and rugged outdoor protection, it provides an efficient alternative to traditional wired network installation in areas where cable deployment is difficult or costly.
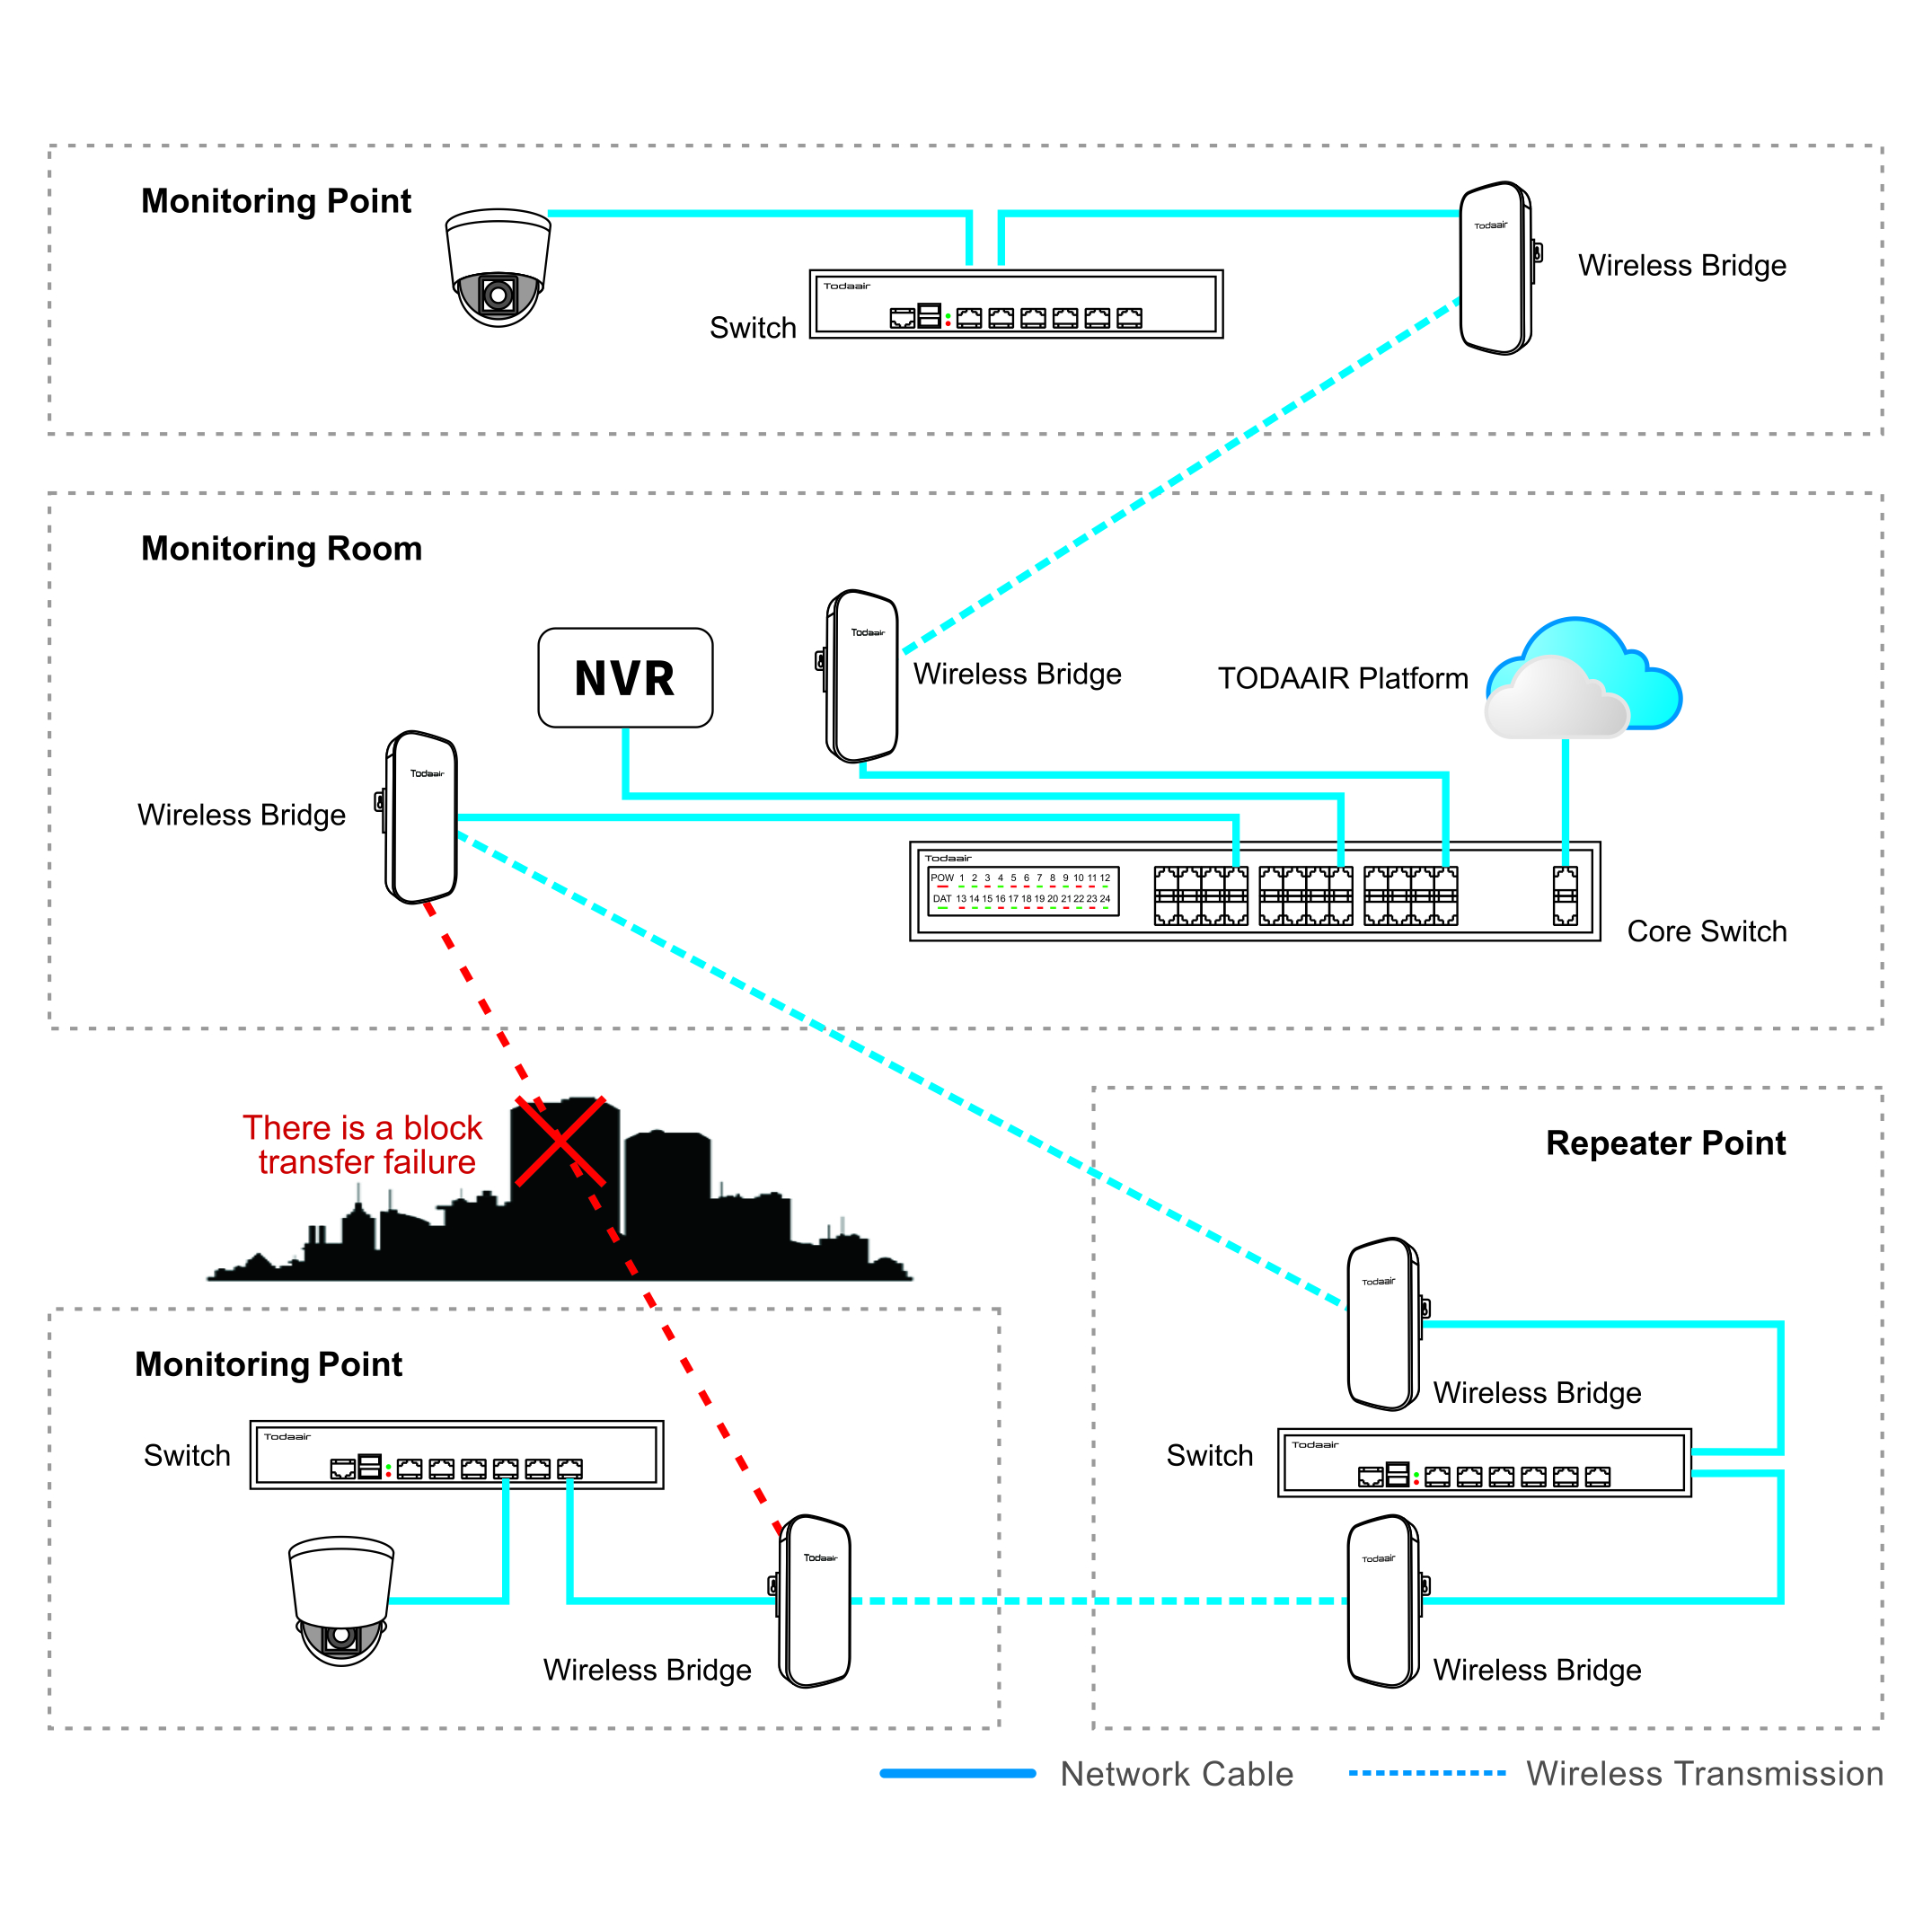
Supporting point-to-point and point-to-multipoint communication, the DIP1520 delivers up to 150Mbps wireless throughput and is ideal for applications such as factory monitoring, elevator surveillance, construction sites, and commercial security systems.
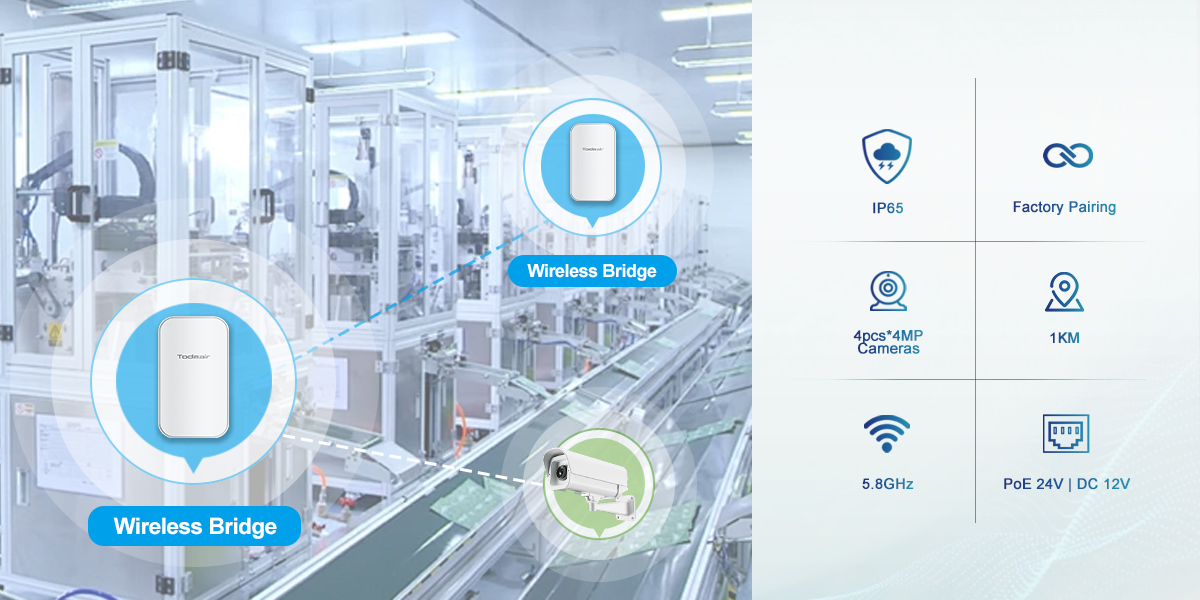
l Stable 1km Wireless Surveillance Transmission
Designed for 1km surveillance transmission, the system delivers up to 150Mbps wireless throughput with a 10dBi high-gain antenna and 23dBm transmission power.
It provides reliable transmission capability and excellent receiving sensitivity for HD video streaming, supporting connectivity with up to four 4MP IP cameras.
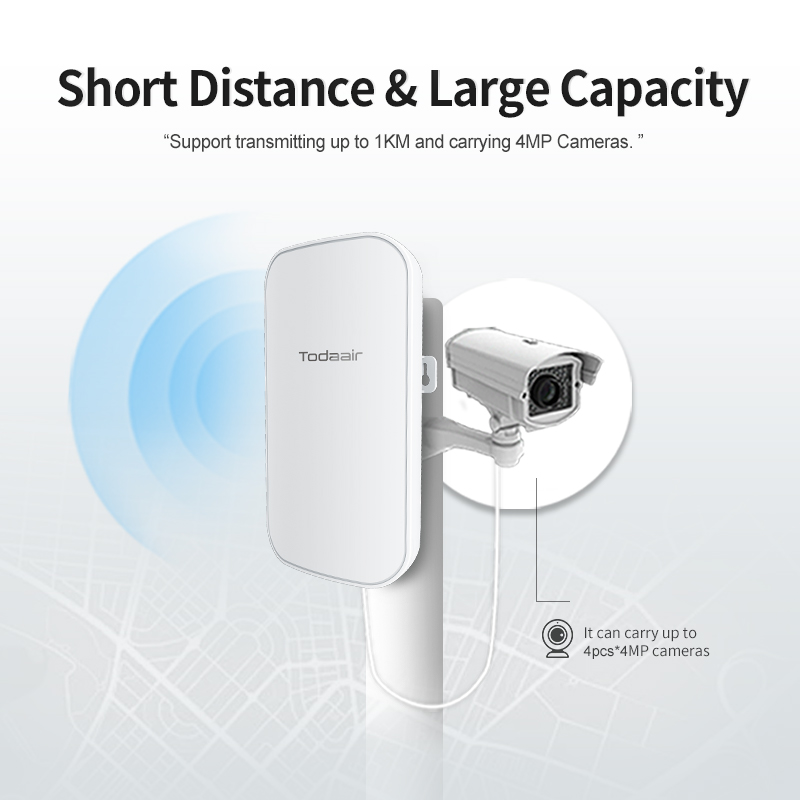
l Reliable 5.8GHz Wireless Connectivity
Operating on the 5.8GHz frequency band, the system provides wider bandwidth, cleaner channels, and reduced interference compared with traditional wireless solutions.
It ensures stable connectivity for surveillance applications requiring continuous video transmission.
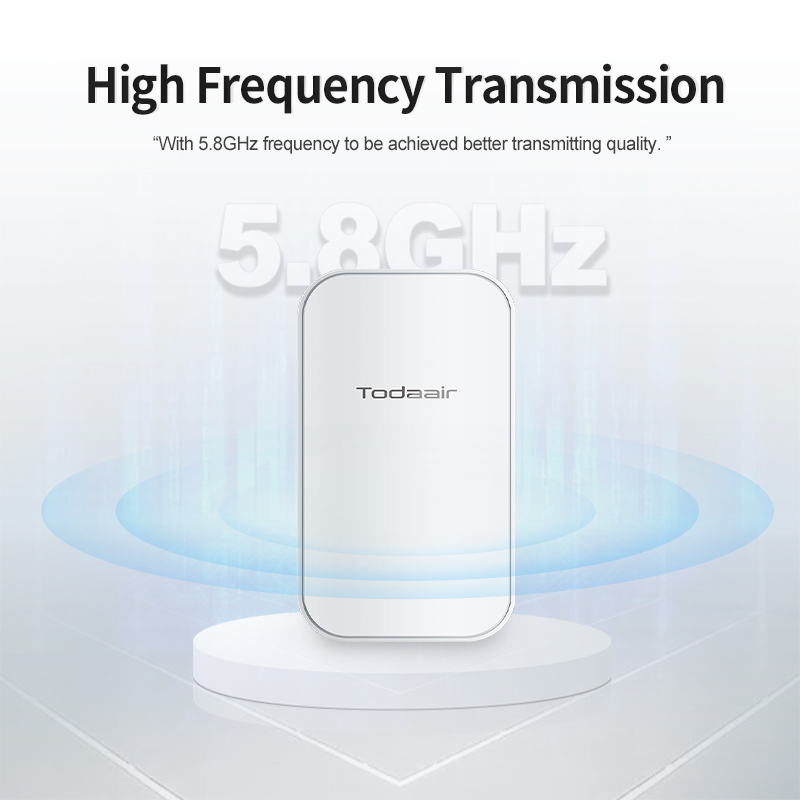
l IP65 Outdoor Protection Design
The device features an IP65-rated waterproof and dustproof enclosure with UV-resistant housing.
Designed to operate from -30°C to 65°C, it maintains stable performance under various outdoor conditions, including rain, dust, and strong sunlight.

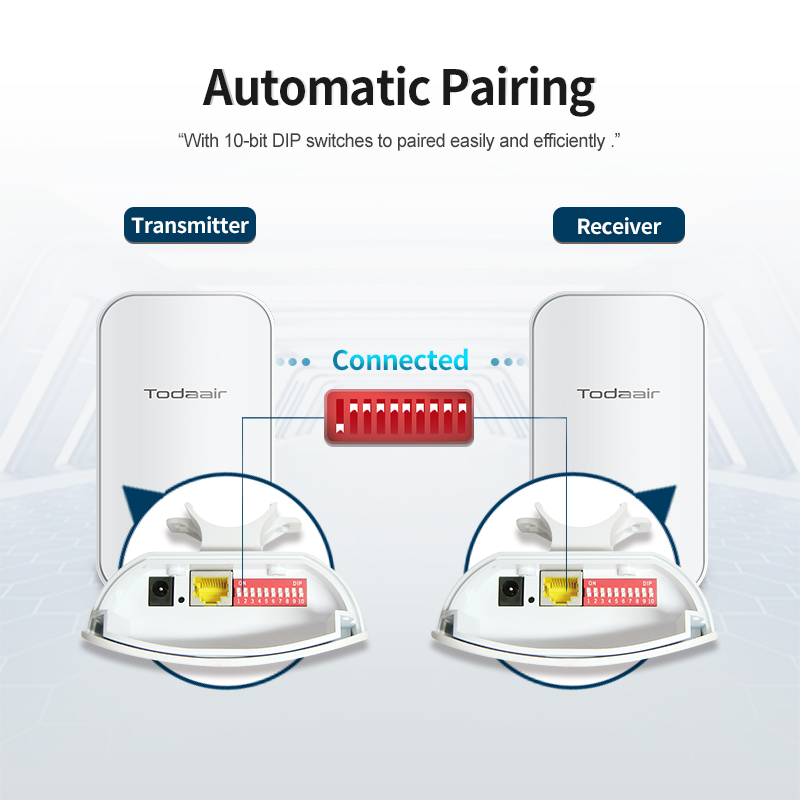
l Fast PTP/PTMP Deployment with DIP Configuration
The 10-digit DIP switch enables plug-and-play deployment with 128 configurable groups for easy PTP/PTMP pairing.
No computer-based setup is required, helping installers complete deployment more efficiently.
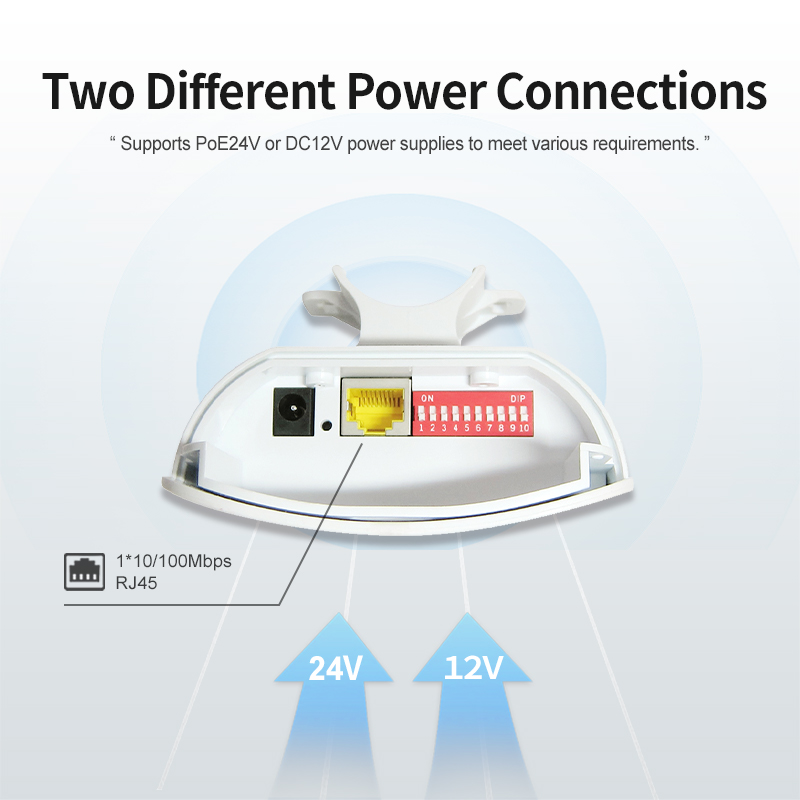
l PoE Installation and Network Management
The device includes one 10/100Mbps RJ45 port and supports DC 12V or 24V PoE power input.
The PoE function allows power and data transmission through a single Ethernet cable, reducing installation complexity.
l The system is compatible with Todaair APP and WEB management platforms, providing convenient device monitoring and configuration.

Looking for a reliable wireless bridge solution for your surveillance or networking project?
Contact Todaair at [email protected] for product information, customization options, and project support.
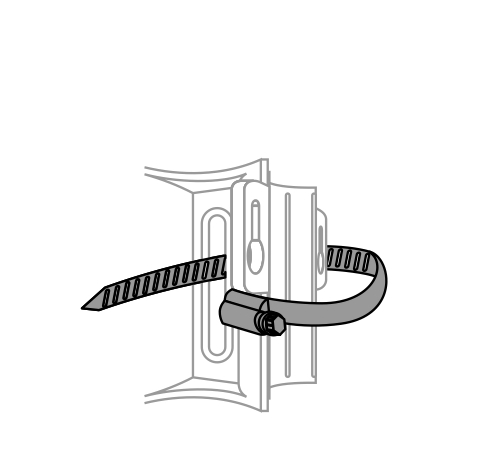
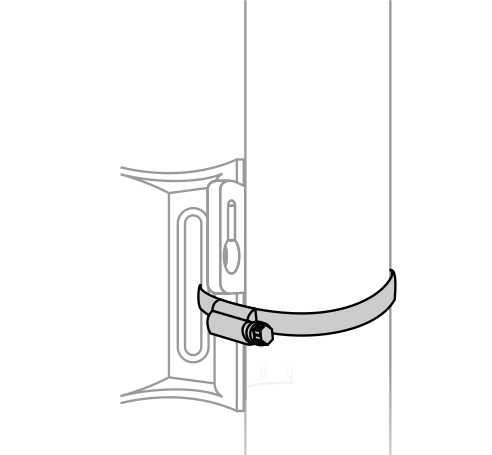
| Pole-Mount | |
 |
 |
|
1 Thread the metal strap through the slot on the device. |
2 Wrap the metal strap around the pole, then use a screwdriver to tighten the screw clockwise. |
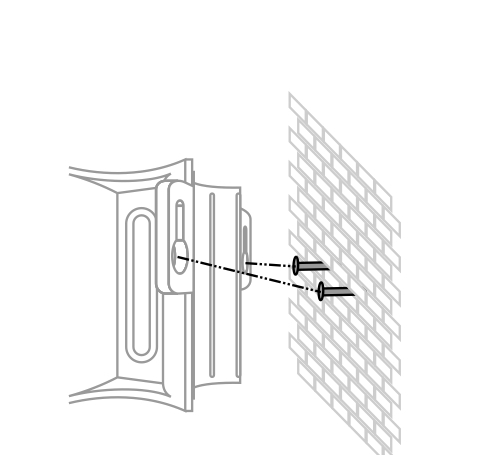
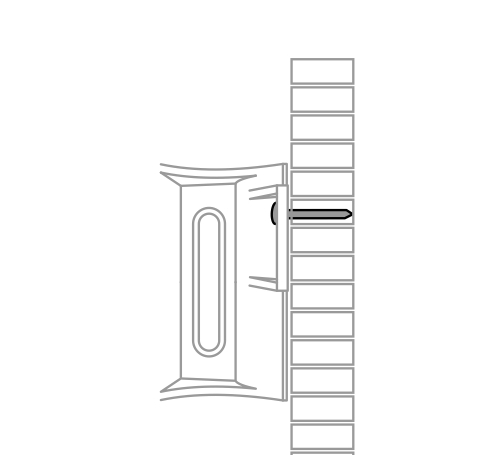
| Wall-Mount | |
 |
 |
|
1 First align the hoist holes on the back of the device and screw into the wall, maintaining 3-5mm spacing between each screw. |
2 Insert the screws through the mounting holes on the back of the device and fasten the device to the wall. |